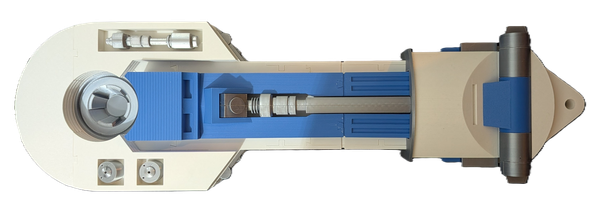
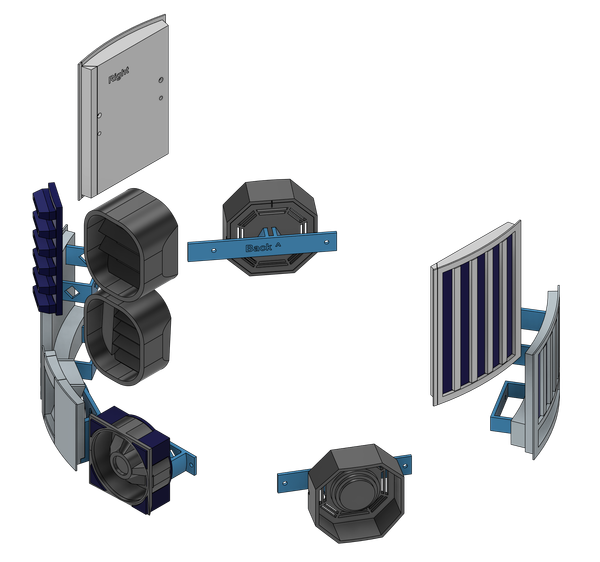
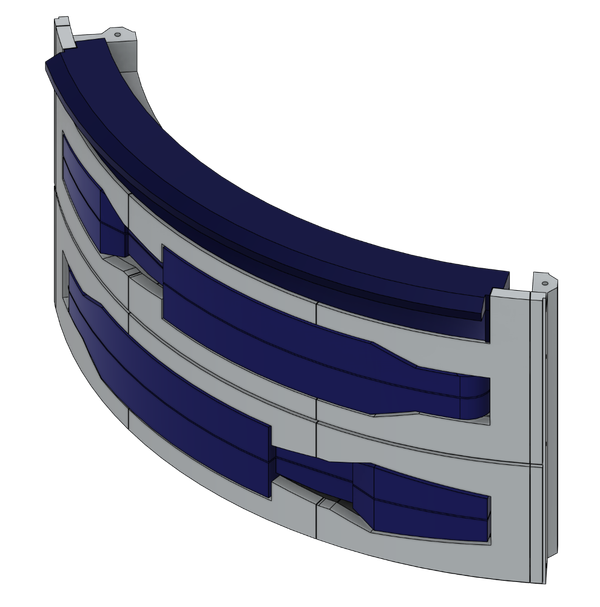
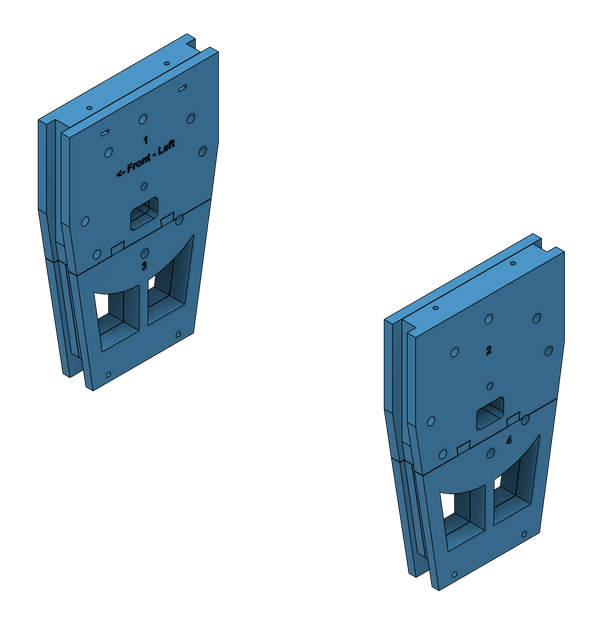
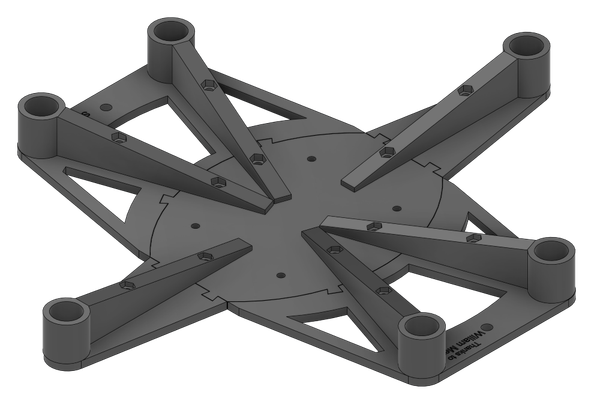
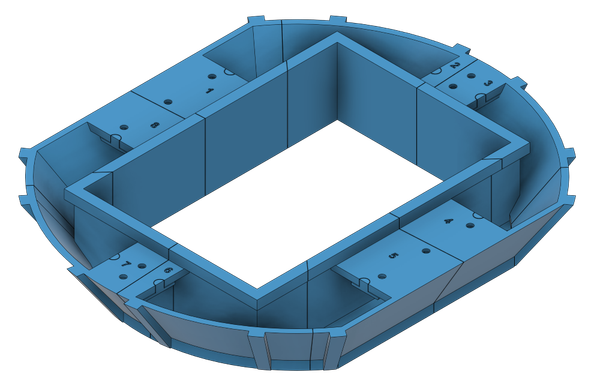
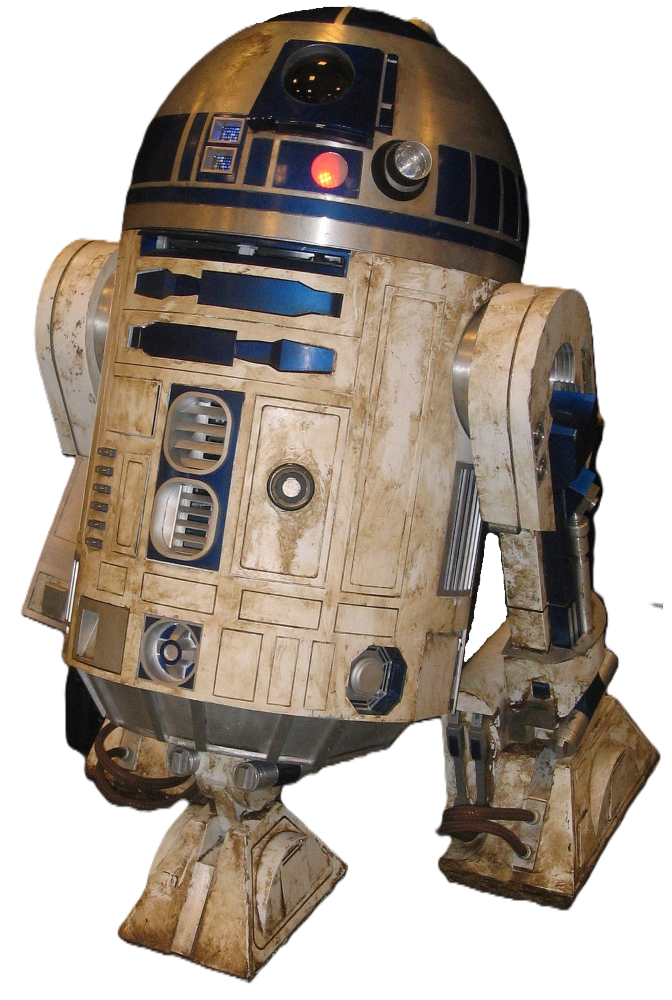
3D Prints R2-D2 Part 15: Leg Booster and Greebles Part 15 of my R2-D2 build covers the leg boosters and greebles, including the long boosters, silver struts, hydraulics, toggle joints and ankle bracelets.
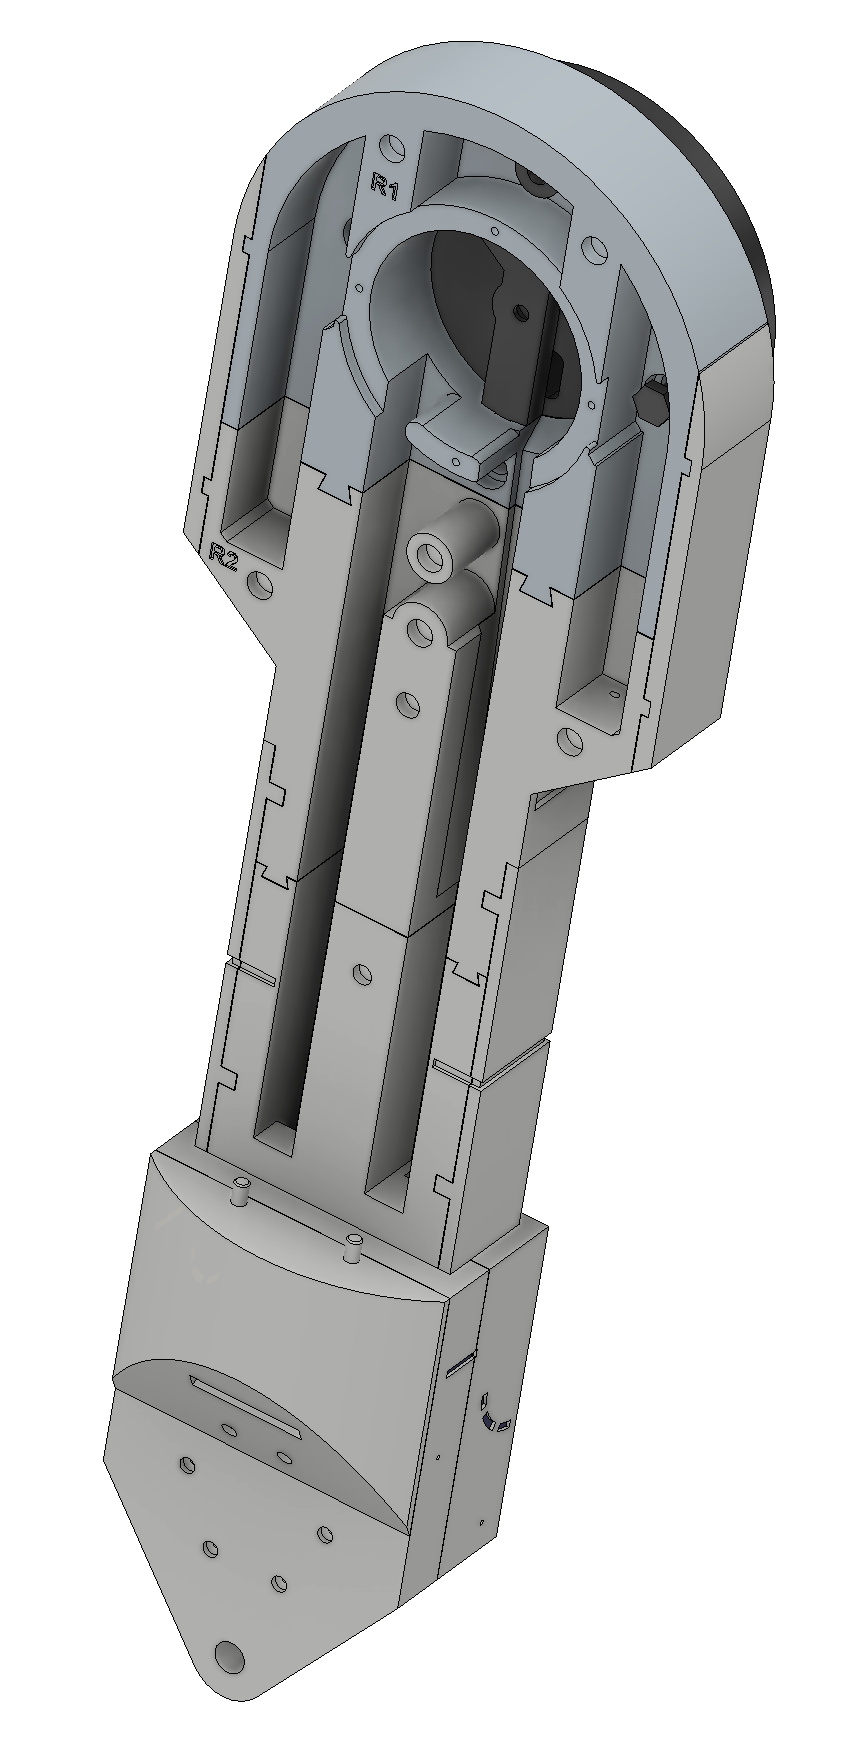
3D Prints R2-D2 Part 14: left and right Legs In Part 14 of my R2-D2 build, I tackle the left and right legs, printing and assembling the main sections, ankles, cylinders, alignment pins and detailed components.
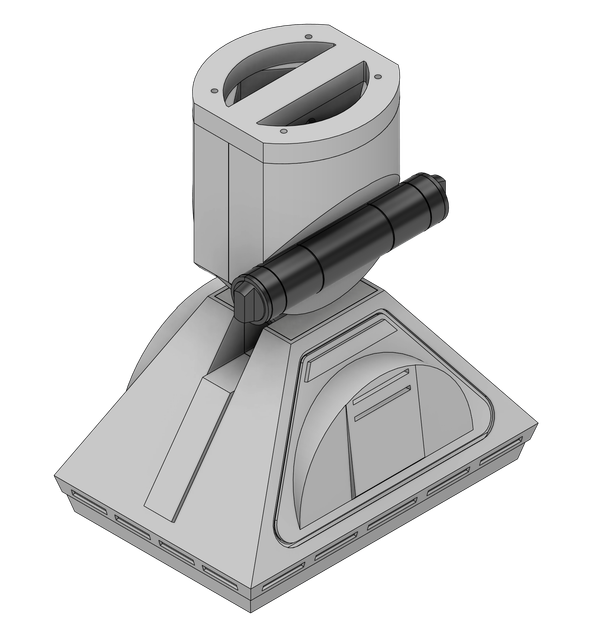
3D Prints R2-D2 Part 13: Centre Leg The centre leg is finally taking shape, with the centre foot, ankle, cylinders and 3D-printed omni wheels all coming together. There are a few printing challenges along the way, but the finished assembly is starting to look great.
3D Prints R2-D2 Part 12: Greebles The R2-D2 body is finally completed with the addition of all the greebles. From coin slots and power couplers to vents and grilles, I cover the printing, colour choices, assembly, and installation that transformed the body into a recognisable R2-D2.
3D Prints R2-D2 Part 11: Rear Panel Building the removable rear panel for my full-size 3D printed R2-D2, including greebles, magnetic access hatch, locking mechanism, alignment challenges, and a few printing mistakes that were solved along the way.
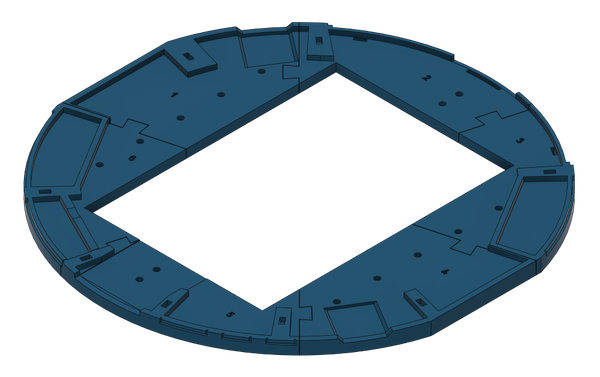
3D Prints R2-D2 Part 10: Top Ring The top ring was one of the simplest parts of my full-size 3D printed R2-D2 build. Six straightforward prints, a perfect fit using custom locating pins, and a look ahead at whether to fit a 450 mm Lazy Susan before starting the dome.
3D Prints R2-D2 Part 9: Doors and Hinges Printing and fitting the R2-D2 body doors proved more challenging than expected. From experimenting with print orientations to carefully aligning the hinges, this stage involved plenty of trial and error before achieving doors that opened, closed, and fitted correctly.
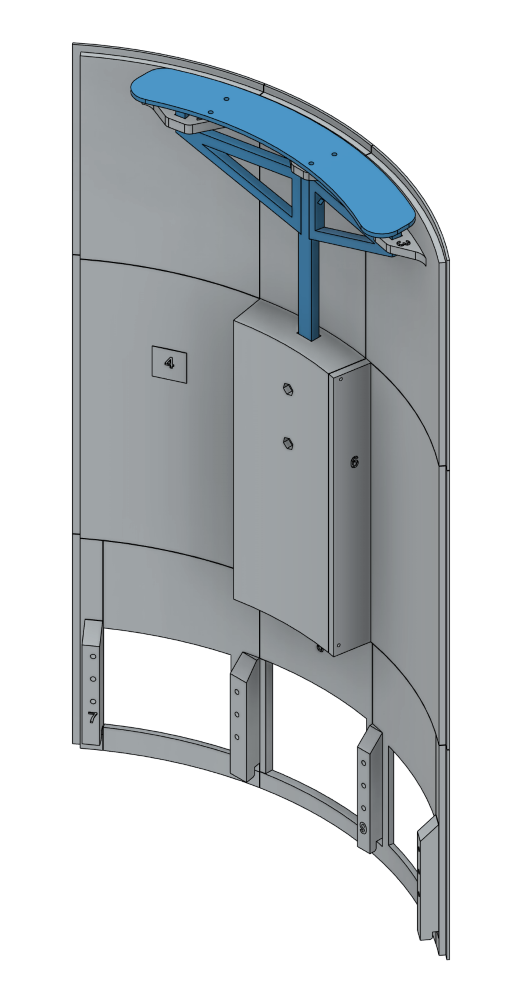
3D Prints R2-D2 Part 8: Utility Arm Frame The utility arm frame was a surprisingly straightforward part of the build. After printing, test fitting, and learning a few lessons about brims and glue, the completed assembly was fitted into the R2-D2 body, adding another detailed feature to the growing full-size droid.
3D Prints R2-D2 Part 7: Fixed Shoulders Part 7 of my full-size R2-D2 build focuses on the fixed shoulder assemblies. From printing and assembly to testing Bambu Lab PLA Silk+ Silver for the first time, this stage prepares the body for the future leg installation.
3D Prints R2-D2 Part 6: Centre Leg Support Building the modified Centre Leg Support tested both my printer and my patience. From missing files and print failures to filament shortages and final assembly, this hidden structural component proved far more challenging than expected.
3D Prints R2-D2 Part 5: Skirt Printing and assembling the R2-D2 skirt proved easier than expected once the correct print orientation was found. Filament alignment pins finally worked as intended, the skirt assembled perfectly, and the base ring fitted beautifully.
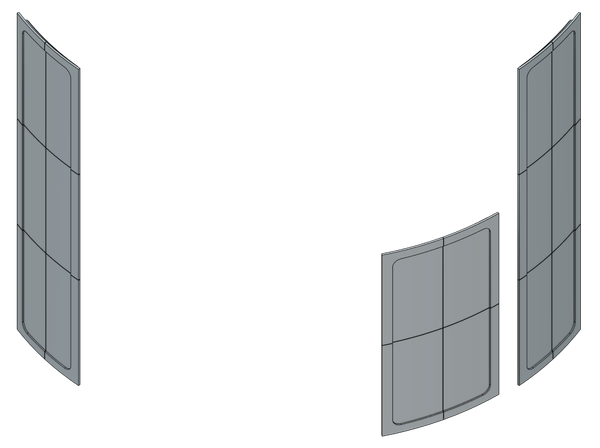
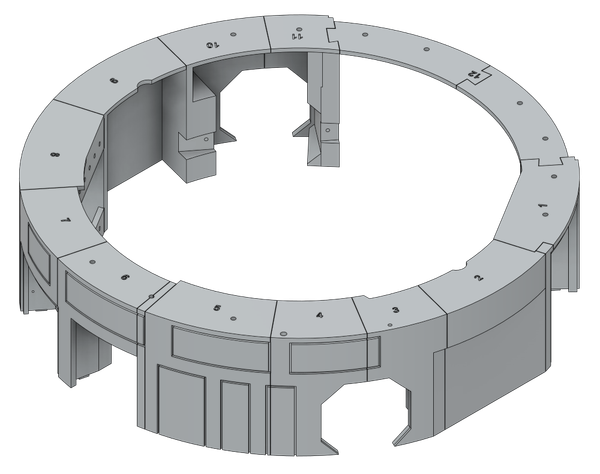
3D Prints R2-D2 Part 4: Ring 3 Ring 3 completed the main body frame of my full-size 3D printed R2-D2. Before moving on to the skirt, curiosity got the better of me and I printed the first blue vent panel. Seeing that splash of colour for the first time was a real milestone in the build.
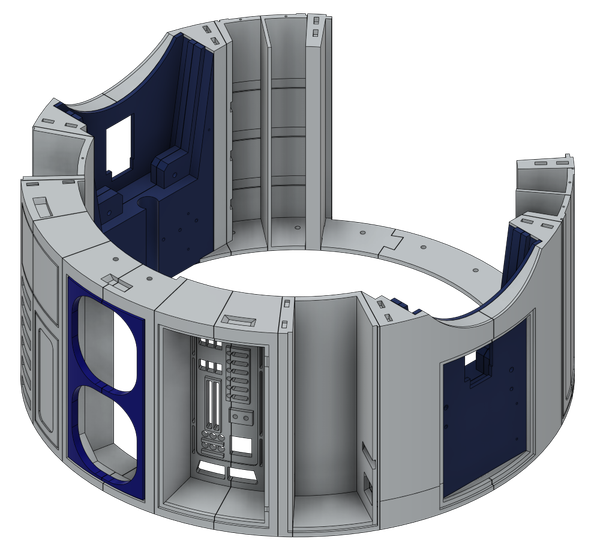
3D Prints R2-D2 Part 3: Ring 2 Ring 2 of my full-size R2-D2 build brought warped parts, filament jams, hinge assemblies, missing files, and careful gluing — but after plenty of problem-solving, the body section finally came together almost perfectly.
3D Prints R2-D2 Part 2: Ring 1 Building Ring 1 of my full-size R2-D2 brought more supports, failed prints, alignment issues, and assembly challenges — but the project is finally starting to take shape.
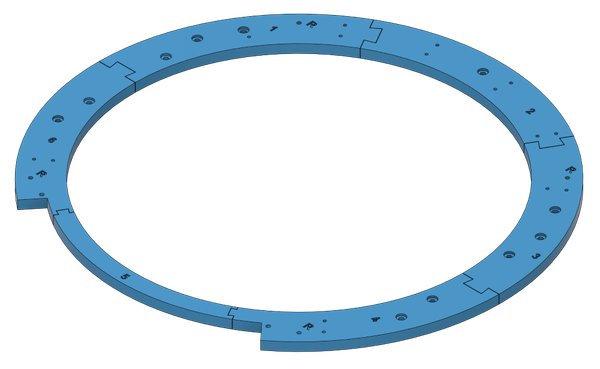
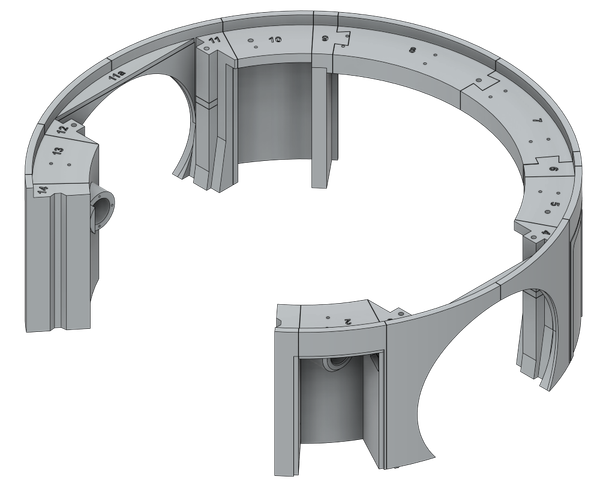
3D Prints R2-D2 Part 1: Base Ring The base ring was my starting point for the full-size R2-D2 build. Six large printed sections, failed prints, glue problems, reprints, and plenty of lessons learned along the way.
3D Prints Featured R2-D2 Full Size A full-size R2-D2 3D print project coming to life layer by layer. Starting with the main body, I’m documenting the printing, assembly, costs and lessons learned as this life-size droid moves from digital model to physical build.