
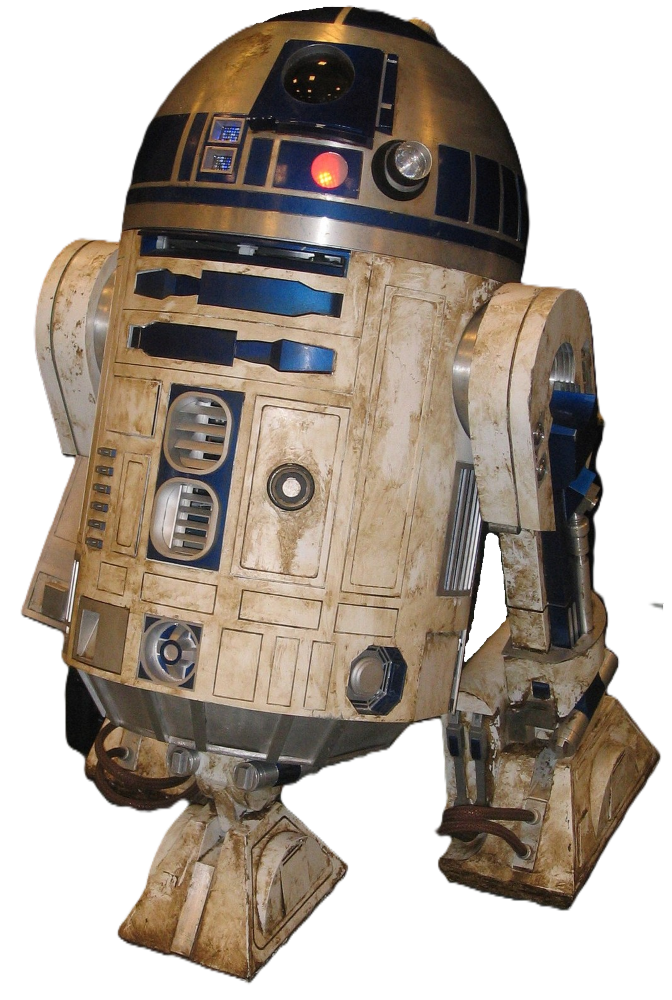
R2-D2 Full Size
A full-size R3D3 3D print project coming to life layer by layer. Starting with the base structure, each part is carefully printed and prepared for assembly as this life-size droid moves from digital model to physical build.
I’d been itching for another proper build for a while. Ever since I finished my Imperial Star Destroyer from Gambody, there’s been that familiar gap — the one where you keep scrolling through files, thinking “yeah, that’s nice… but it’s not the one.” I didn’t just want something to print; I wanted a project. Something big enough to get stuck into, something that would take time, planning, and a bit of problem-solving along the way.
Naturally, my search kept drifting back to R2-D2. It’s one of those iconic builds, the kind of project that sits right on the line between model and full-on prop.
After a bit of digging, I came across a full-size R2 unit on MakerWorld by Ryan@TheMajinLab. It looked fantastic — detailed, well-designed, and clearly a lot of work had gone into it. But there was one thing that kept nagging at me: the finish. A lot of these builds rely heavily on post-processing and painting to really bring them to life, and if I’m honest, painting just isn’t something I enjoy. I’d much rather let the printer do more of the finishing work, using different filament colours to get as close to the final look as possible straight off the bed.
That’s what led me to the version by Michael Baddeley. The design felt like a better fit for how I like to work — cleaner separation of parts, more suited to multi-colour printing, and less reliance on heavy finishing afterwards. It still captures the look of R2-D2 brilliantly, but in a way that leans into the strengths of 3D printing rather than fighting against them.
I’ve also decided to keep things simple and skip the electronics for now. As impressive as the moving panels, lights, and sounds are, they add a whole extra layer of complexity that I don’t really want to get bogged down in on this build. This project, for me, is about the print itself — the scale, the assembly, and seeing a full-size R2 unit come together piece by piece.
So that’s the plan: a full-size R2-D2 build, focused purely on the physical model, printed in colour where possible, and hopefully looking the part straight off the printer.
Now comes the fun part — actually getting started.
To get things moving, I picked up some filament to kick the project off properly. I went with four spools of Bambu PLA Matte White and two of Bambu PLA Matte Blue. I’ve found matte filaments tend to print a bit cleaner and, more importantly, they just look better straight off the printer — less shine, fewer visible layer reflections, and a more “finished” feel without needing loads of post-processing.
The whole build will be printed on my Bambu Lab A1 with the AMS Lite, which feels pretty much ideal for this kind of project. Since I’m trying to avoid painting wherever possible, being able to handle colour changes cleanly through the AMS makes life a lot easier and keeps the focus on the print itself rather than loads of finishing work afterwards.
I did have my eye on some PLA Silk+ Silver for the dome and some of the accent parts, but it was out of stock at the time. Something to come back to later, depending on how I decide to handle the finer details.
Originally, I was thinking about starting with the feet, but I decided to just dive straight into the main body. It’s the core of the whole build, and getting that underway makes it feel like the project has properly started rather than just dipping a toe in.
Plus, there’s something far more satisfying about seeing the bulk of it come together early on.