
R2-D2 Part 8: Utility Arm Frame
The utility arm frame was a surprisingly straightforward part of the build. After printing, test fitting, and learning a few lessons about brims and glue, the completed assembly was fitted into the R2-D2 body, adding another detailed feature to the growing full-size droid.

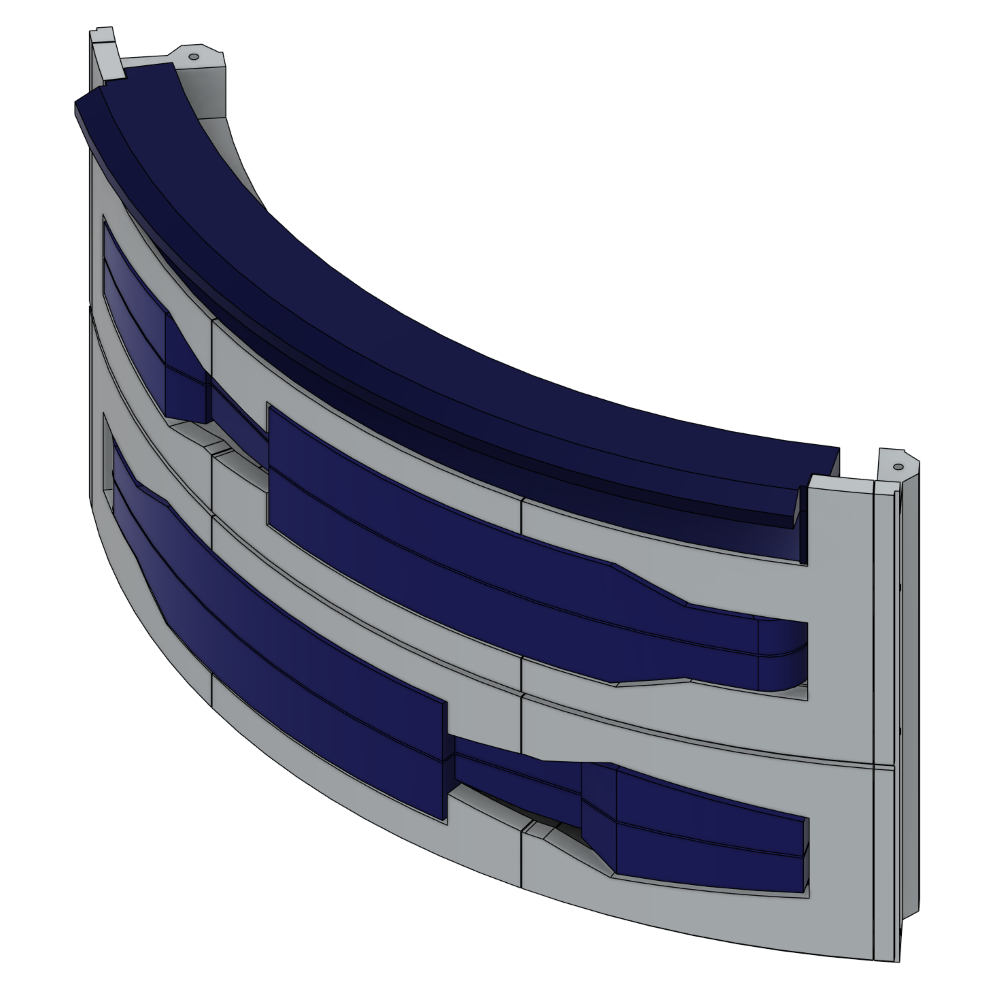
The utility arm frame is made up of five main printed parts that form the structural frame assembly. These pieces fit together to create the mounting point for the utility arms and provide the necessary strength to support the moving components.
The utility arms themselves are relatively simple, with each arm consisting of two printed pieces. As there are two utility arms required, this meant printing a total of four arm sections before assembly could begin.
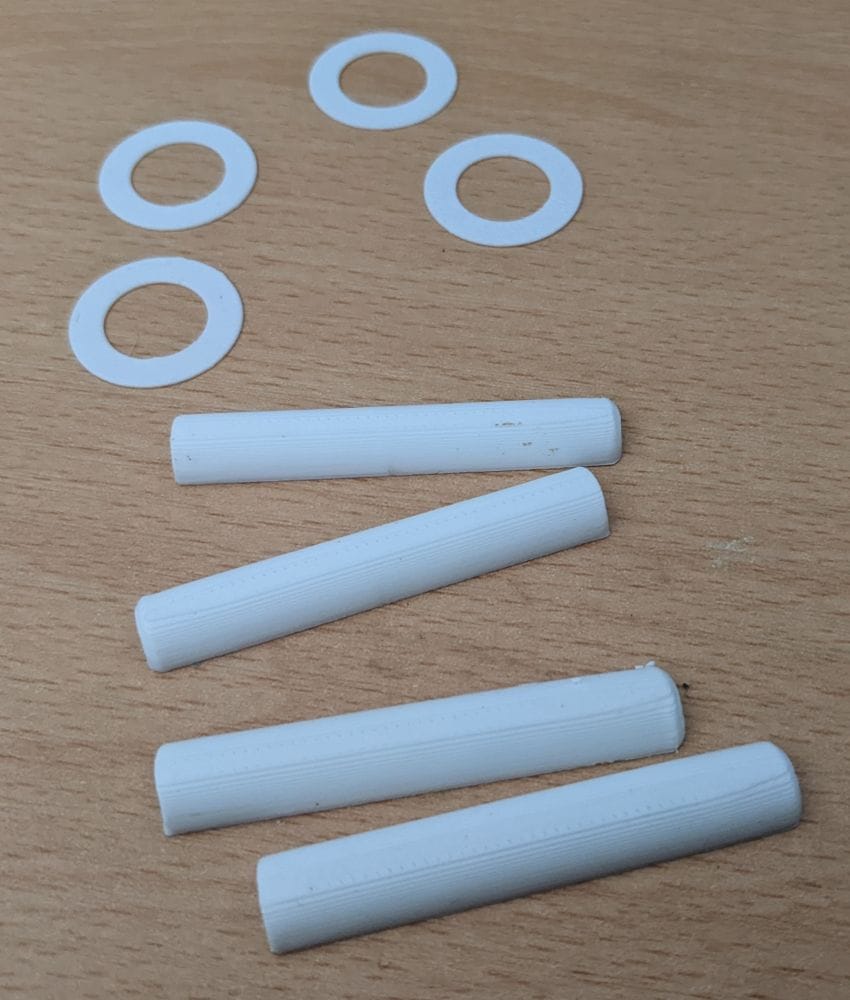
In addition to the frame and arms, there are several smaller components that act as pivots and spacers. The hinge pins are printed as four separate pieces, allowing the arms to be attached to the frame, while four printed washers are used to provide spacing and help the moving parts operate smoothly.
Although the assembly doesn't contain a huge number of parts, there is a mixture of larger structural pieces and smaller functional components, making it another section of the build that benefits from keeping everything organised as the parts come off the printer.
The first parts I decided to print were the two sections that make up the data port. These were printed in blue filament and could be laid completely flat on the print bed, making them an ideal place to start.
At first glance they looked like very straightforward prints with no real challenges, but I was still pleased with how they turned out. The detail came out crisp, the surfaces were clean, and both parts printed flawlessly on the first attempt. After some of the larger and more troublesome parts I'd encountered elsewhere in the build, it was nice to have a couple of prints that simply worked exactly as intended.
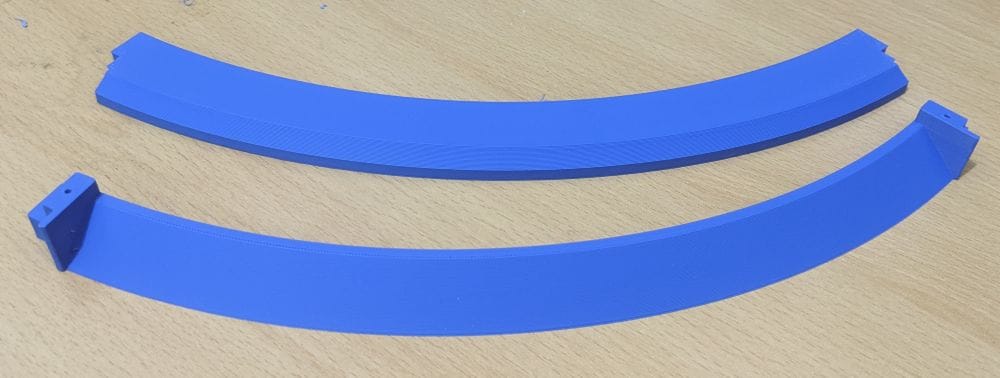
Seeing the blue data port pieces completed also gave me a small glimpse of how the finished utility arm assembly would look once installed, and it reinforced my decision to use coloured filament rather than relying on painting later.
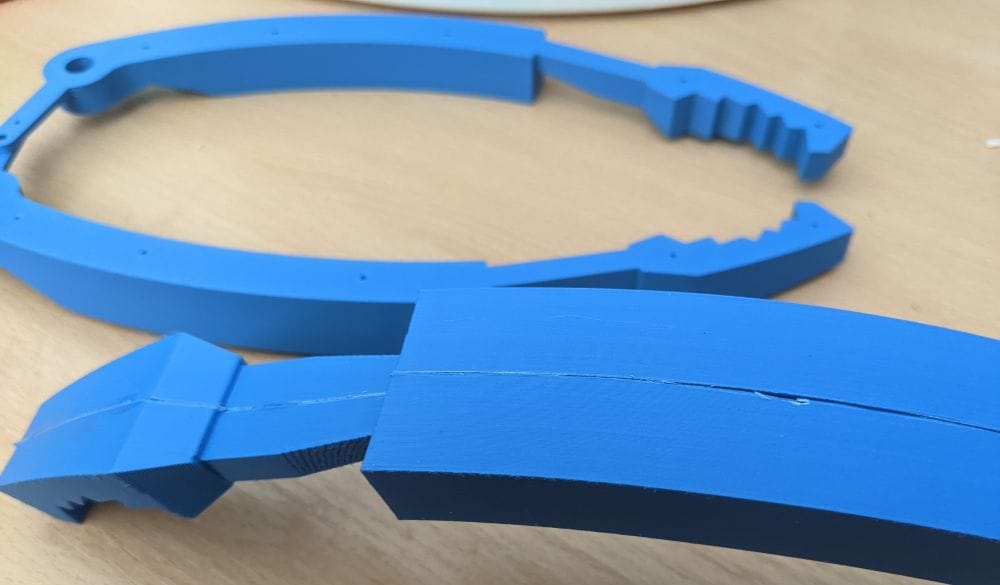
My next print was one of the utility arms, which is made up of two separate pieces that are glued together after printing. When I sliced the parts, I was a little concerned about the possibility of the corners lifting from the print bed. Because the two halves needed to fit together neatly, even a small amount of warping could have caused problems later during assembly.
To be on the safe side, I added a brim around both parts to maximise bed adhesion and reduce the risk of curling. During printing, this seemed like the right decision as the parts remained firmly attached to the bed and printed without any issues.
Unfortunately, the brim created a different problem. Although I removed it carefully, it left a slight ridge around the edge of the parts. Normally this wouldn't matter, but because these pieces had to be glued together, the remaining edge prevented them from joining as cleanly as I would have liked. Once assembled, the joint wasn't quite as neat as the model deserved, and I could clearly see where the extra clean-up should have been done before gluing.
For assembly, I used Gorilla Glue Clear because it gives me a bit more working time to line up the parts properly before it sets. That extra time was useful, especially with pieces that needed to be aligned accurately. However, the glue didn't stay neatly within the joint and squeezed out around the edges, leaving a messy appearance that was difficult to clean up afterwards.
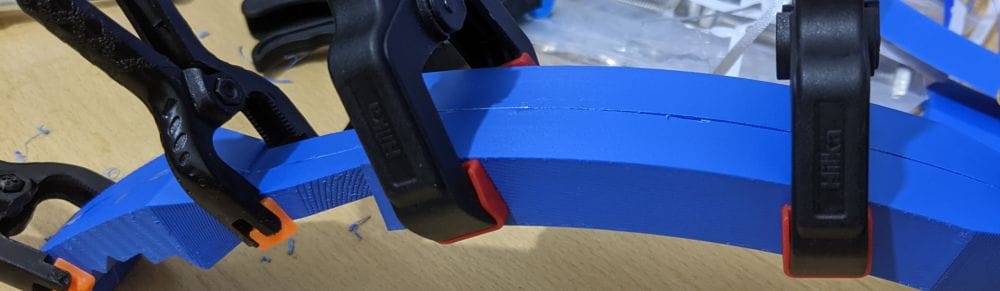
It wasn't a disaster, and the finished arm was still perfectly usable, but it was one of those occasions where my attempt to prevent a potential problem ended up creating a different one. Looking back, the parts probably would have printed fine without the brim, or at the very least I should have spent a little more time cleaning up the edges before reaching for the glue. I may also try a different adhesive on future parts, as while the Gorilla Glue Clear gave me plenty of time to position everything correctly, the excess glue around the joint detracted from the final finish.
When it came time to print the second utility arm, I decided to take a different approach and print it without a brim. In hindsight, this proved to be the better option. The part adhered to the bed perfectly well on its own, and because there was no brim to remove afterwards, the mating surfaces remained much cleaner. When I glued the two halves together, the join was almost invisible and looked far better than my first attempt.
I also changed my assembly technique slightly by using less glue. With only a thin amount applied to the joint, there was no excess adhesive squeezing out around the edges, resulting in a much cleaner finish. Combined with the improved fit of the parts, the second arm looked considerably better overall.
Another advantage of printing without a brim was that the alignment holes remained much more defined once the print was removed from the bed. These holes are designed to accept short lengths of filament as alignment pins, and on the second arm they required very little clean-up. After a small amount of tweaking with a drill bit, I was able to insert the filament pins and achieve near-perfect alignment while gluing the parts together.
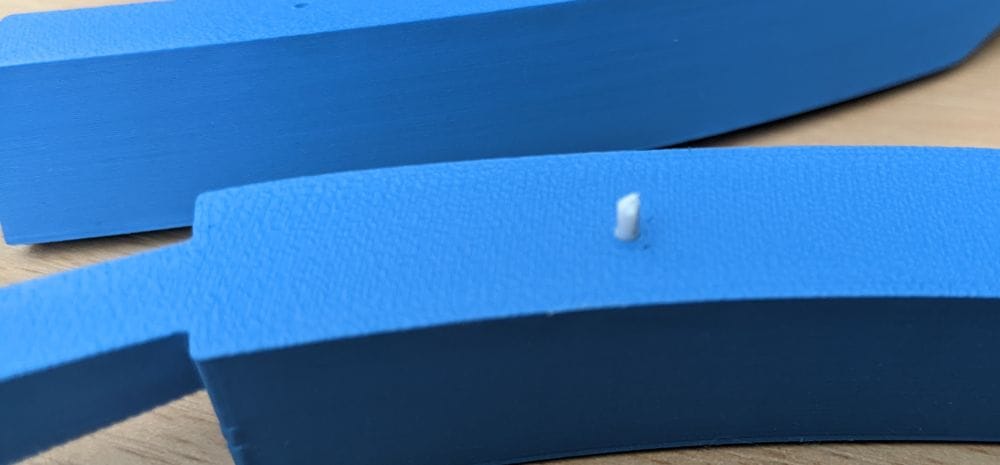
The difference between the two arms was noticeable enough that I decided I would reprint the first arm rather than live with the poorer finish. The second attempt demonstrated that sometimes the simplest approach is the best one. By avoiding the brim, using alignment pins, and being more restrained with the glue, the final result was cleaner, neater, and much closer to the standard I wanted for the finished build.
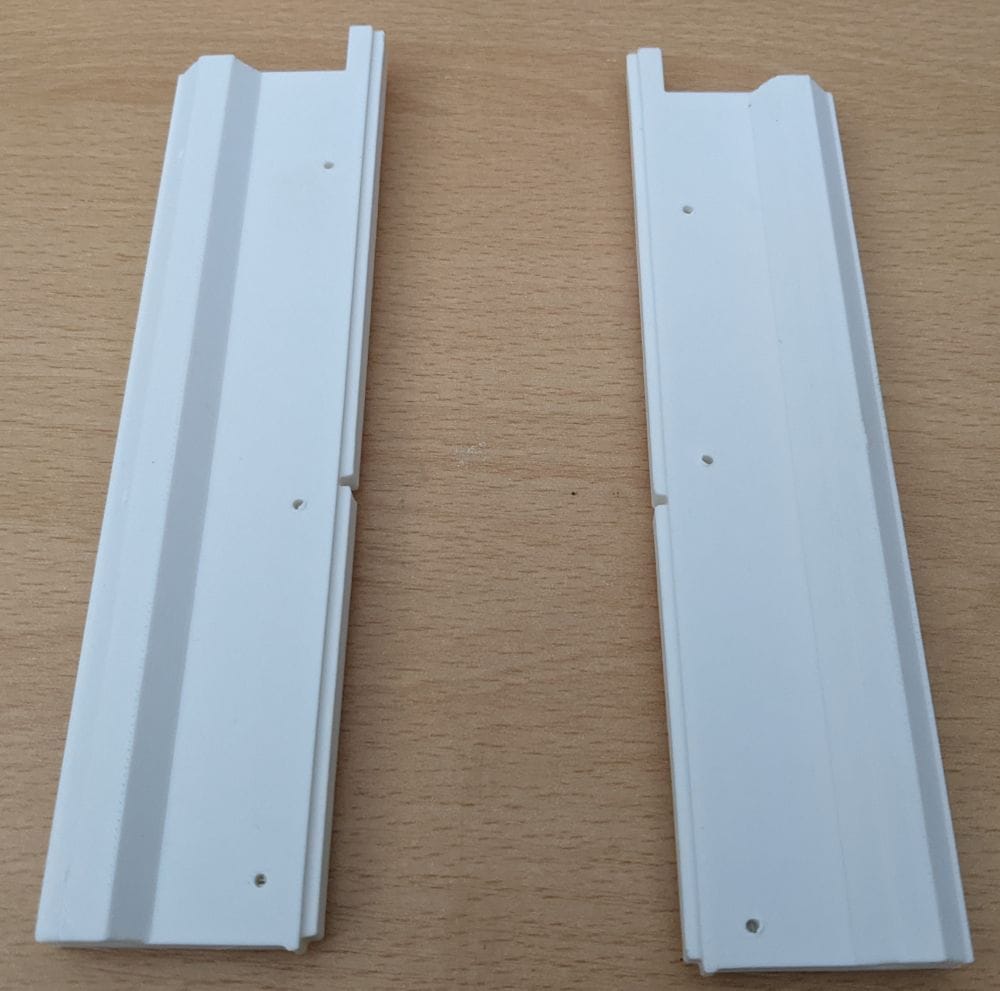
With the utility arms completed, I moved on to printing the frame itself, which is made up of five separate parts. I decided to start with parts 1 and 5 as they were the simplest components in the assembly and looked like straightforward prints with very little that could go wrong.
To make the most of the available space on the print bed, I also printed the hinge pins and washers at the same time. All of these smaller components printed perfectly, although the washers proved a little stubborn when it came to removing them from the build plate. They were firmly attached and required a bit of care to avoid damaging them during removal, but thankfully everything survived intact and was ready for assembly.
With those parts completed, I moved on to the main frame sections, parts 2, 3, and 4. Of these, only part 3 required supports, while the others could be printed without any additional support material. By this stage I was becoming more confident with the settings I was using, and the results reflected that. All three parts printed exceptionally well, with clean surfaces, sharp detail, and no significant issues to report.
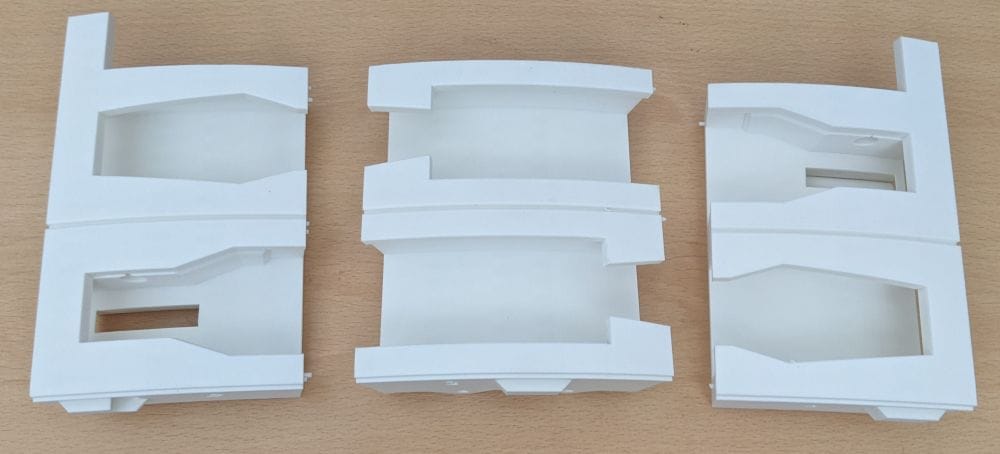
After some of the more challenging components earlier in the build, it was refreshing to have a run of prints that simply worked. Every part fitted the expectations set by the design files, and before long I had all five frame sections, along with the pins and washers, ready for the next stage of assembly.
With all five frame sections printed, it was time to begin the test fitting. The design includes a large number of alignment holes intended to accept short lengths of filament as locating pins, helping to keep everything square and correctly positioned during assembly.
As with many of the previous parts in the build, some of the holes needed a little clean-up before the filament would fit properly. The tolerances were extremely tight, so I kept the alignment pins fairly short and carefully adjusted each hole until the filament could be inserted without forcing it. It was a slow process, but the effort paid off.
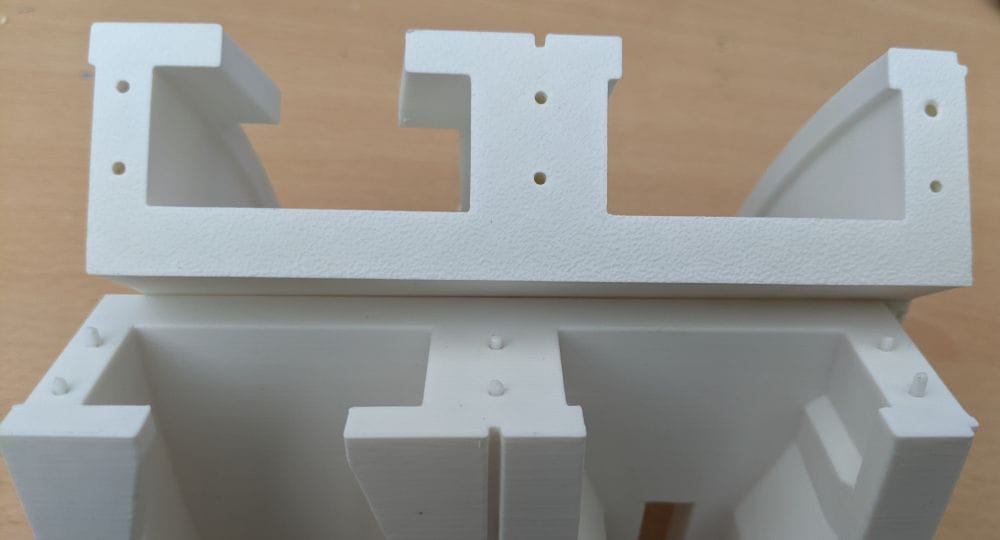
Once the pins were installed, I was able to dry fit the entire frame together. The fit was surprisingly good, and the parts locked together so securely that the assembly could almost support itself without any glue at all. The alignment pins did an excellent job of holding everything in position and gave me confidence that the final assembly would go together without too many surprises.
With the frame temporarily assembled, I couldn't resist offering it up to the main body to see how everything would look. This is always one of my favourite moments in a build, when a collection of individual printed parts finally starts to resemble the finished model. Seeing the utility arm frame sitting in position on the body gave a real sense of progress and confirmed that all the printing and preparation work had been worthwhile.
Because I was still using the slow-curing adhesive for the frame assembly, progress came to a temporary halt. The parts needed to remain clamped while the glue cured properly, and with most of my clamps already tied up holding the frame together, there wasn't much point trying to rush the next stage of assembly.
Rather than sit and wait for the glue to set, I decided to make use of the time by moving on to another part of the build. One of the advantages of a project this size is that there is always something else that can be printed while other components are curing or being prepared.
With the utility arm frame temporarily on hold, I turned my attention to printing the doors for the body, which would be needed later in the build.
Continue reading: Printing the Body Doors
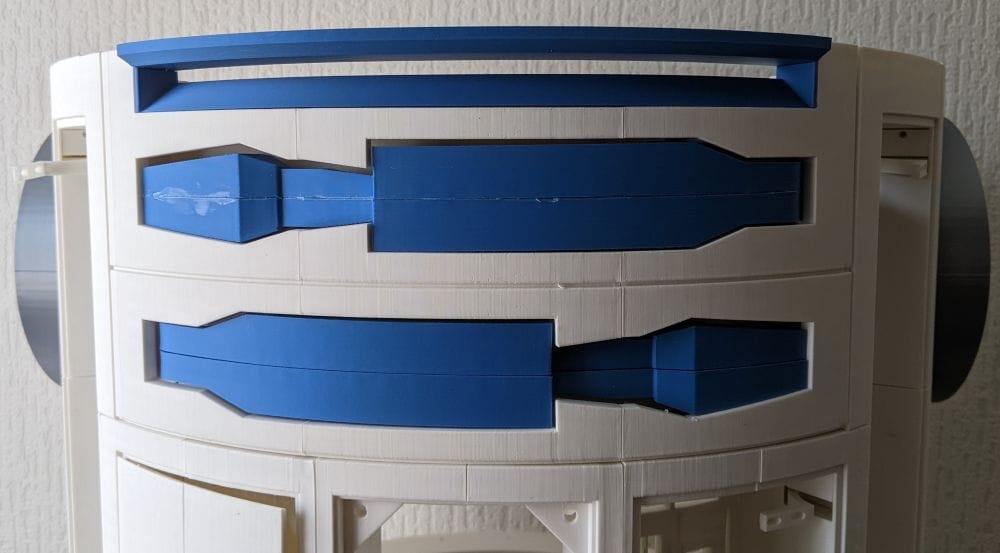
With the utility arm frame finally glued together, I could move on to the final assembly of the unit. The utility arms were fitted into the frame using the printed pins and washers, allowing me to check that everything aligned correctly and moved as intended before committing to the glue.
The blue data port section was then installed into the opening at the top of the frame, completing the assembly. By this stage, all of the individual printed components had come together to form a single, solid unit that looked far more impressive than the collection of parts scattered across the workbench only a few days earlier.
Once the glue had fully cured and everything felt strong and secure, I took the completed assembly over to the R2-D2 body for a final test fit. Thankfully, all the careful measuring, printing, and alignment work had paid off, as the unit slotted neatly into place exactly as intended.
Satisfied that everything fitted correctly, I applied the glue and permanently installed the utility arm assembly into the body. It was another satisfying milestone in the build, transforming what had previously been an empty opening into a detailed and functional-looking feature. Small additions like this really help bring the R2-D2 model to life, adding depth and character to the body while moving the project one step closer to completion.