
R2-D2 Part 12: Greebles
The R2-D2 body is finally completed with the addition of all the greebles. From coin slots and power couplers to vents and grilles, I cover the printing, colour choices, assembly, and installation that transformed the body into a recognisable R2-D2.

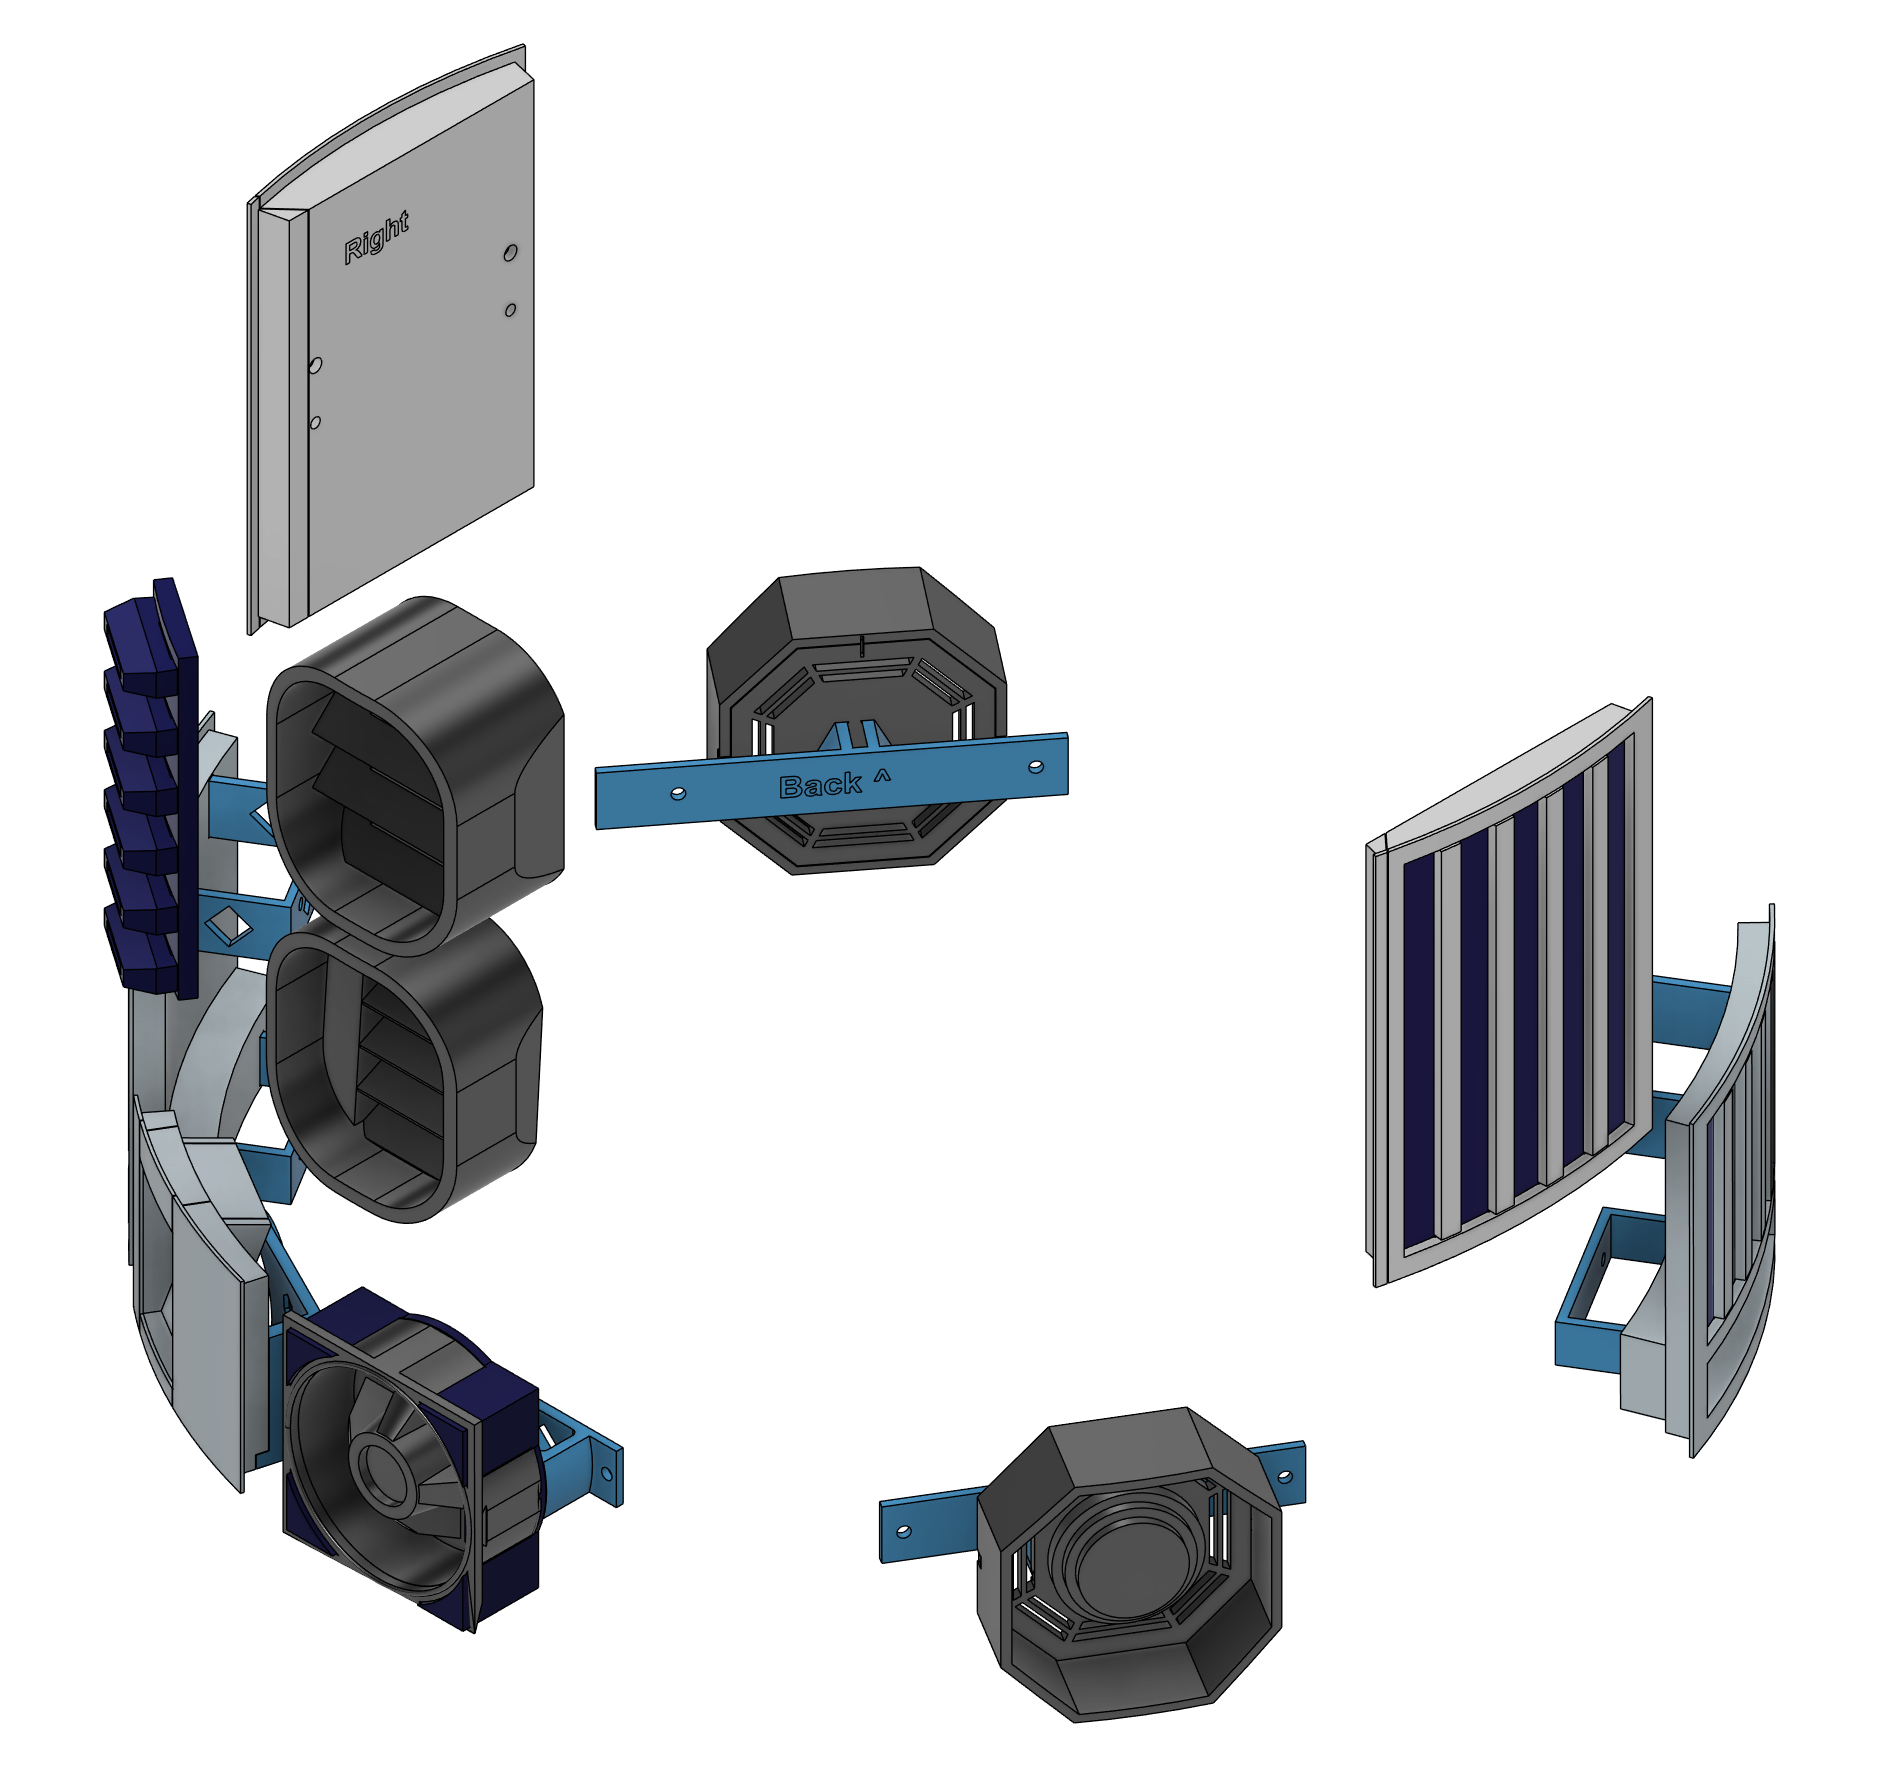
With the main body of the R2-D2 now complete, it was finally time to turn my attention to all of the greebles that bring the body to life. Before moving on to the legs, the centre foot and eventually the dome, I wanted to finish off the body properly.
Having already made the mistake of gluing the rear power coupler together before checking the colours, I wasn't going to repeat that error. This time I made sure every part was dry-fitted first, checking that all the coloured pieces were in the correct positions before committing to the glue. It only takes a few extra minutes, but it saves a lot of frustration later.
Coin Return Front
I decided to start with the front coin return slot, which is made up of four separate parts: three pieces that form the coin return itself and a rear mounting bracket. As with the rear power couplers, I printed these parts in silver filament to give them a more authentic metallic appearance and to avoid the need for painting later on.
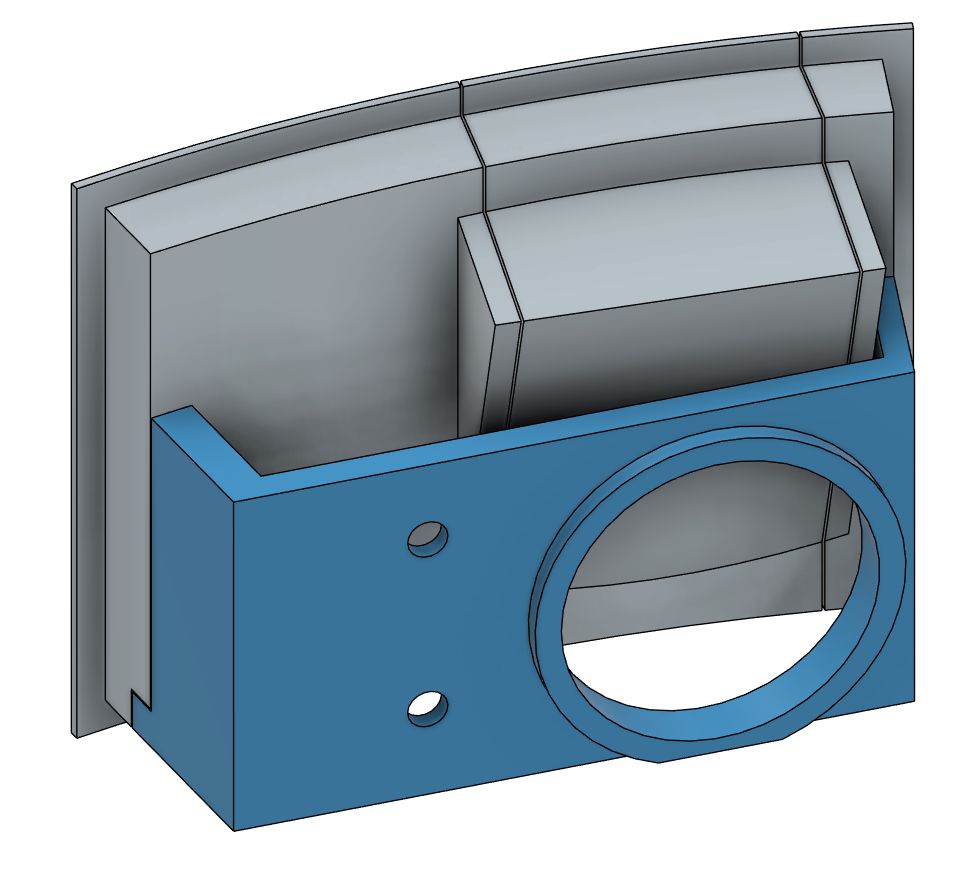
Using short lengths of filament as alignment pins, the three front pieces locked together very easily. The rear bracket is designed to allow the entire coin return assembly to be screwed into the body so it can be removed if needed.
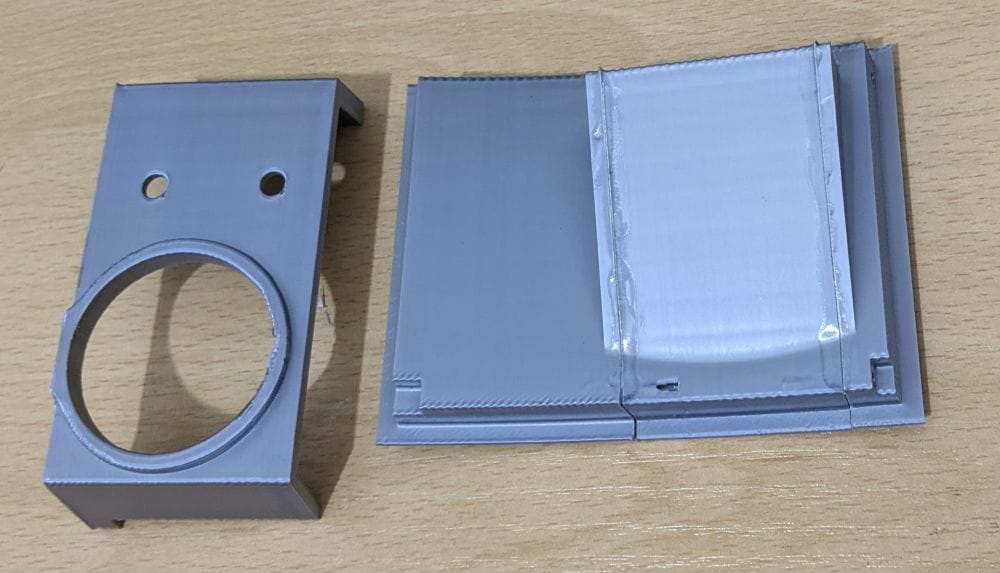
As I had already decided that I would be gluing the assembly permanently in place, I didn't really need the bracket for its intended purpose. However, it was very well designed and held all three pieces together in exactly the right curve while the glue cured, so I fitted it anyway. It made the assembly much easier and ensured everything stayed perfectly aligned.
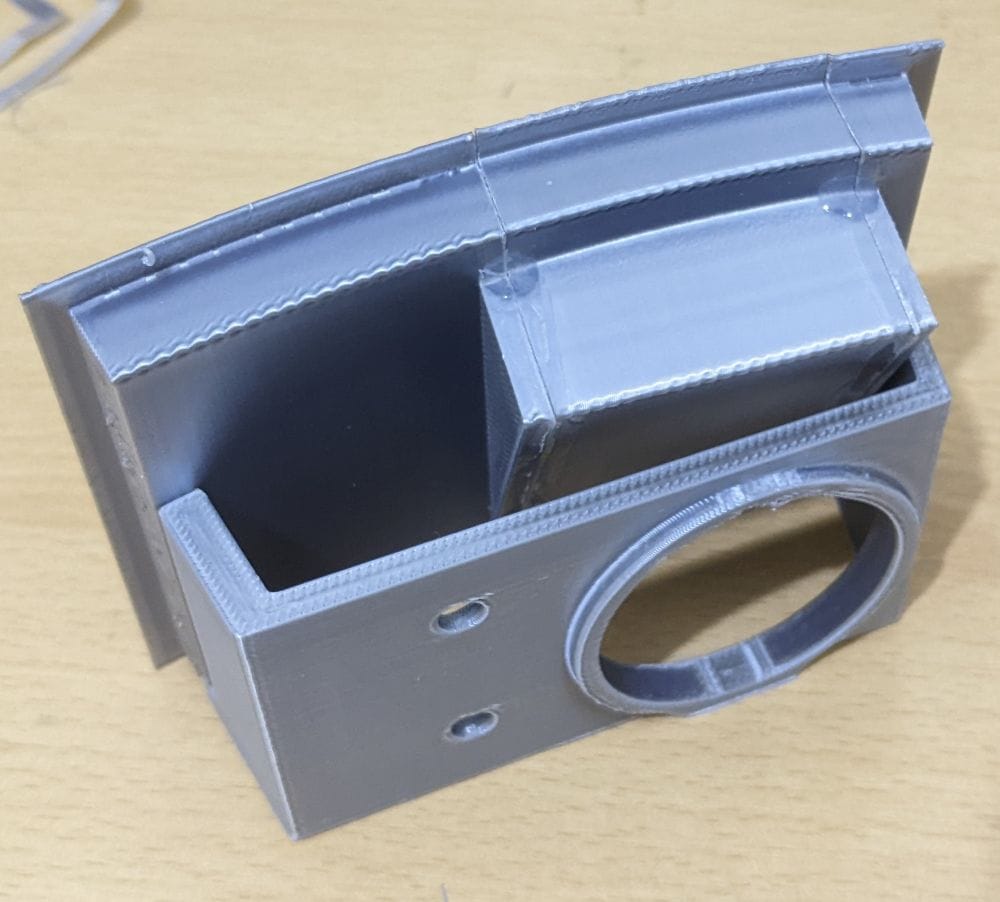
With the assembly complete, I glued the coin return slot into the body. Once it was in place, it looked really good, and for the first time with the greebles fitted, it felt like the body was finally starting to come together exactly as intended.
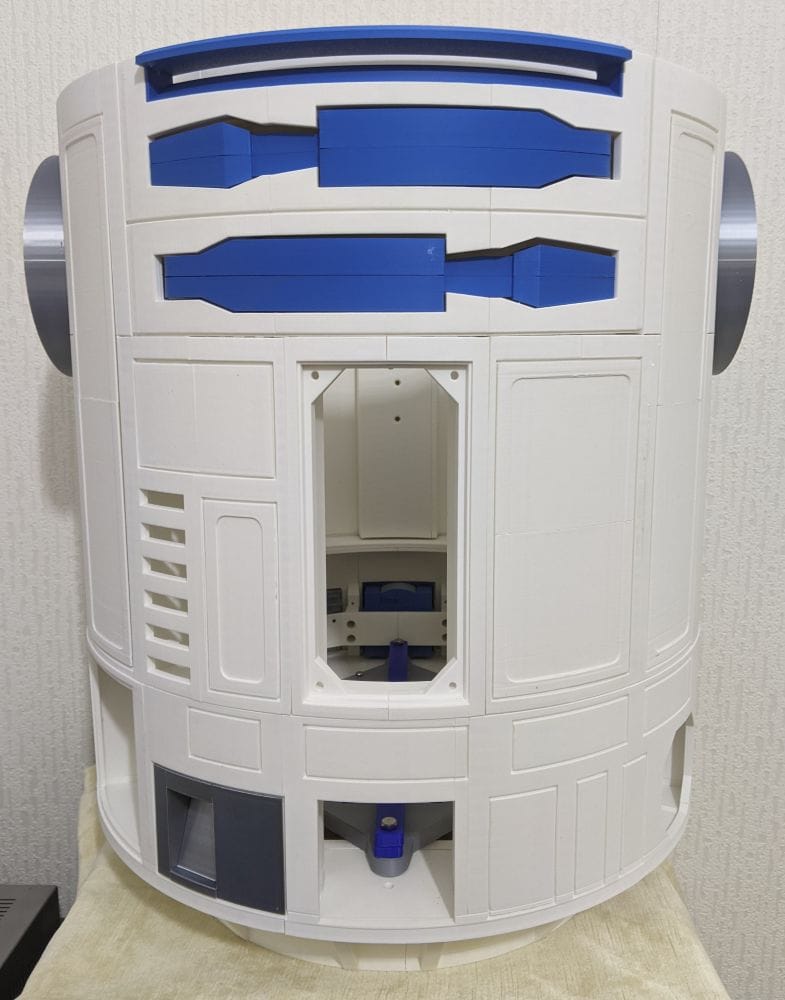
Coin Slots
The next parts to print were the coin slots. These were designed to be printed entirely in blue, but after looking through a number of reference photos of the original film R2-D2, as well as several completed 3D builds, I noticed that many featured a small silver accent on the end of each slot.
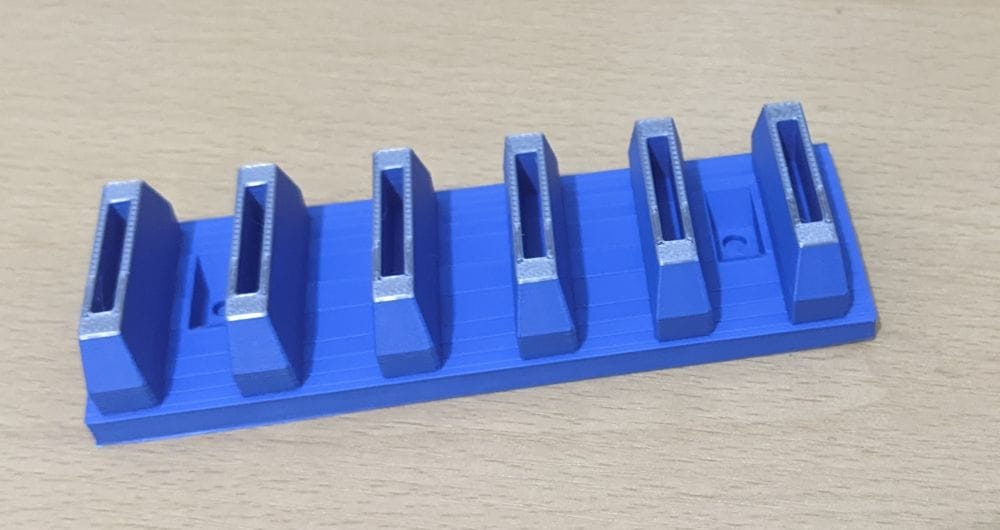
To recreate that look, I modified the print by changing the filament for the final few layers from blue to silver. It was a simple change, but it made a noticeable difference to the finished appearance, giving the coin slots a little extra detail. The result came out far better than I had expected.
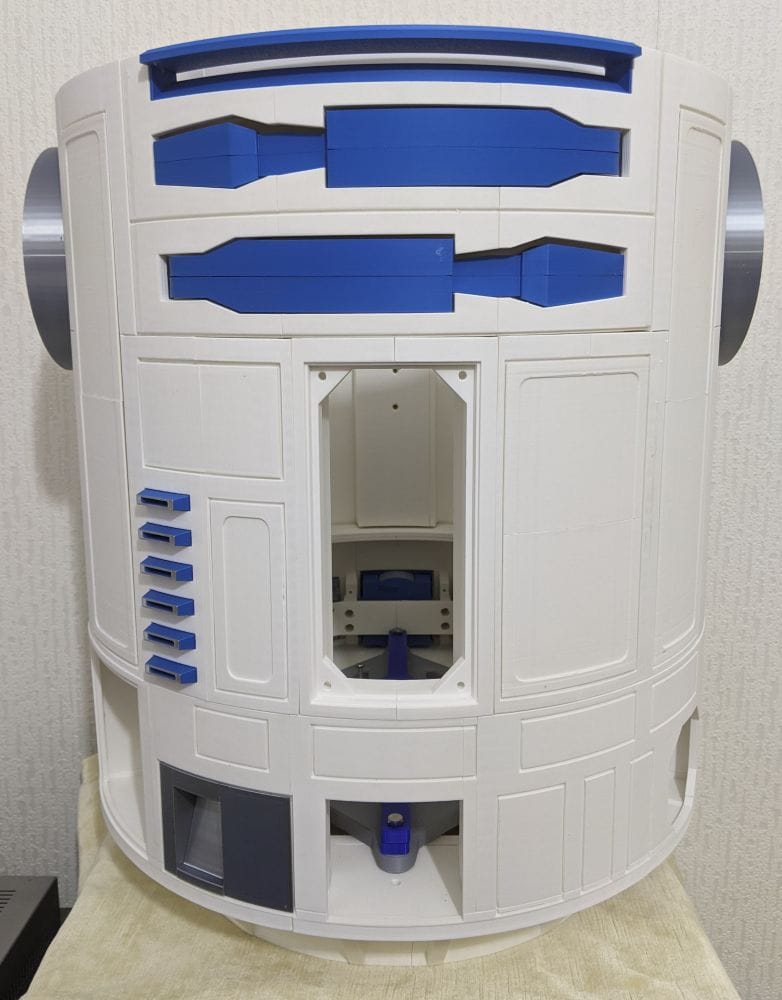
When I finally fitted the coin slots to the R2 unit, I have to admit I got quite excited. Such a small detail made a huge difference to the overall appearance. With the silver accents catching the light against the blue body, it suddenly looked far more like the R2-D2 I had imagined. It was one of those moments where the build really started to come alive, and I couldn't help but stand back and admire it.
Power Coupler
The next part to tackle was the front power coupler, which is made up of four main parts along with a rear mounting bracket. I was determined not to repeat the mistake I had made with the rear power coupler, where I had originally printed the outer frame in blue before later discovering it should have been silver.
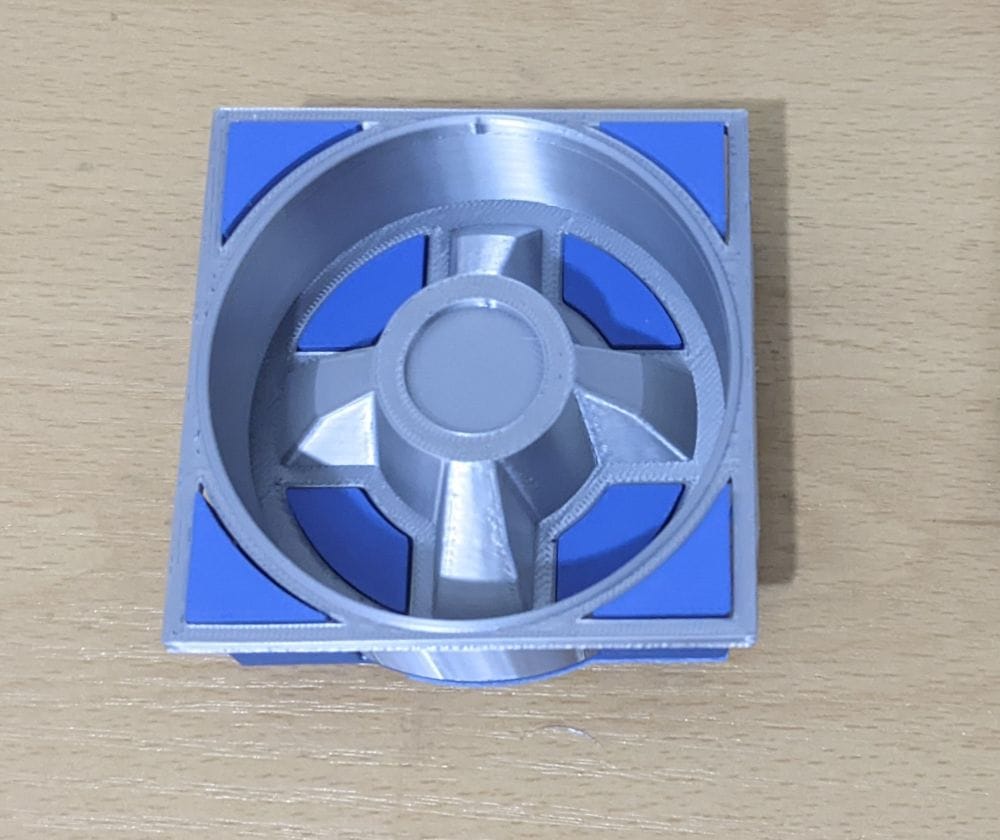
This time I made sure to double-check my reference photos before printing, and the outer frame was printed in silver from the start. Once all the parts had been assembled, I was much happier with the result. The silver frame gave the power coupler a much more authentic appearance and really helped it stand out against the blue body.
The rear bracket fitted neatly behind the power coupler, holding the assembly securely together and making it easy to install into the body. It was another well-designed part that made the final assembly straightforward.
Before permanently gluing the power coupler together with the rear bracket, I decided to do a quick test fit to see whether it would be easier to install with the bracket already attached or as separate pieces. It turned out to be a worthwhile check.
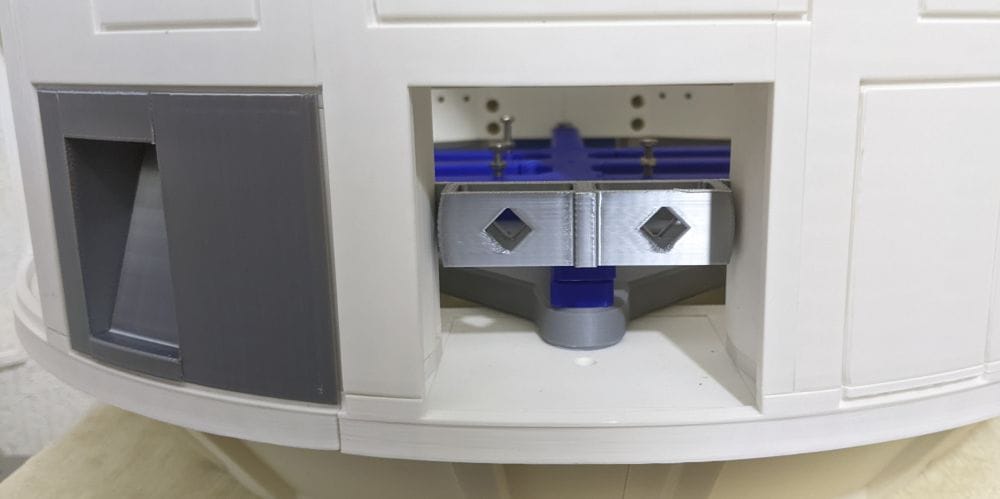
With the bracket attached to the power coupler, it was much more difficult to manoeuvre the whole assembly through the opening in the front of the R2 body. Instead, I glued the bracket into the body first, allowing it to cure in the correct position. Once it was secure, I was then able to insert the power coupler through the front opening and glue it directly onto the bracket. It was a much simpler approach and made the installation far easier than trying to fit the complete assembly in one piece.
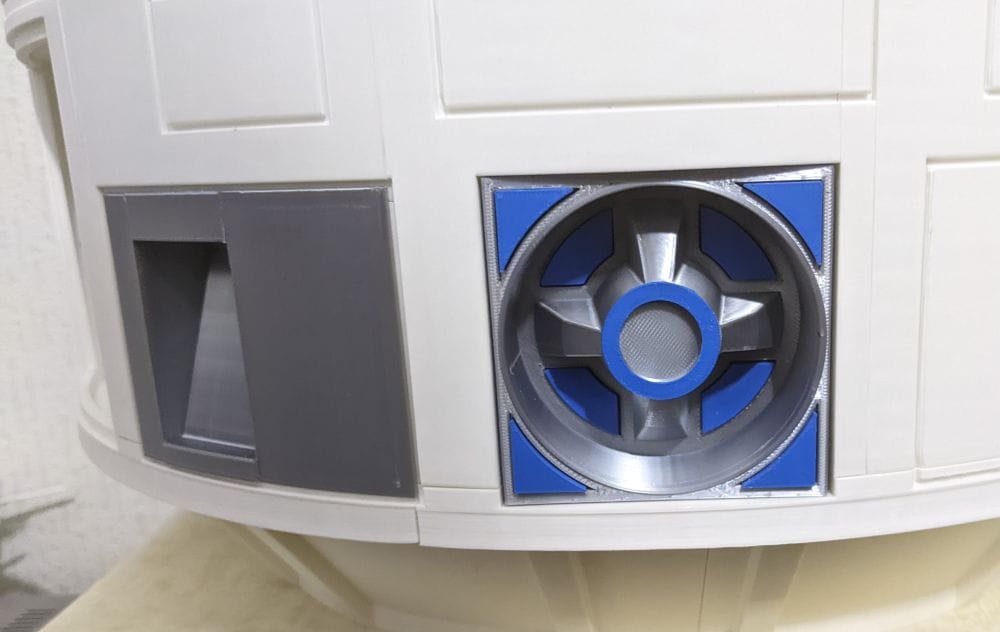
Octagon Ports, Back and Front
The octagonal ports for the front and rear of the body were each made up of four pieces, one of which formed a mounting bracket that fitted behind the octagonal port itself. The brackets were thoughtfully designed with keyed locating tabs, so there was no chance of mixing them up or fitting them the wrong way around. It was a simple detail, but one that made assembly quick and straightforward, with everything lining up exactly as intended.
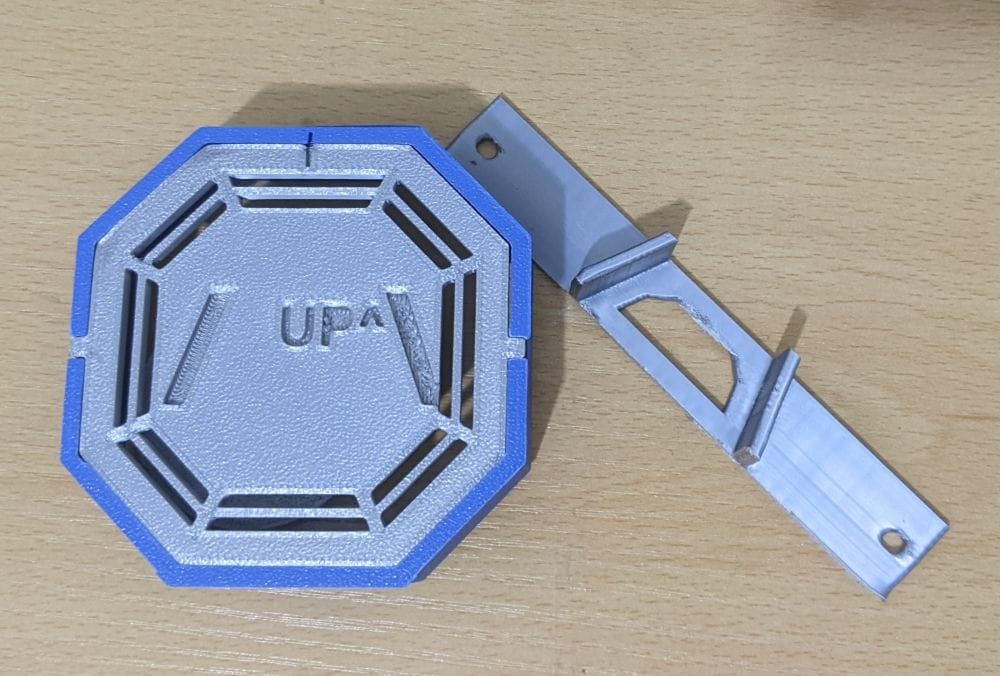
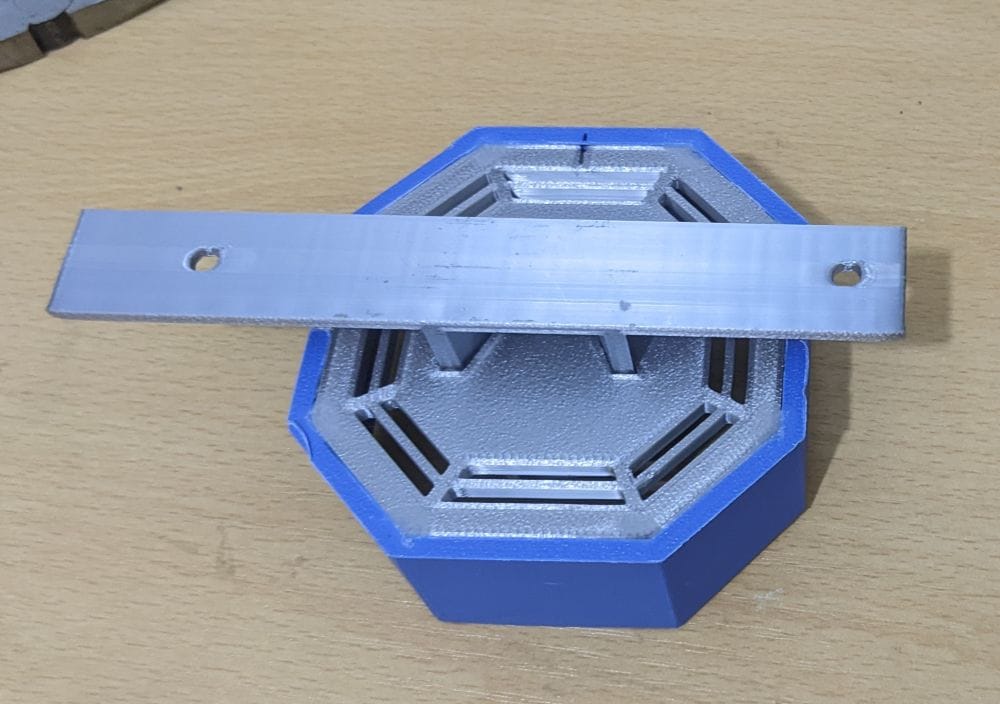
The biggest challenge with the octagonal ports wasn't assembling them, it was deciding on the correct colours. I had already decided that the main body of the port would be printed in silver, but I wasn't convinced about the colour of the outer frame. Some reference photos seemed to show it in silver, while others appeared to have it painted blue.
After spending far longer than I care to admit searching through photos of the original film props and other R2-D2 builds, I eventually decided to print the outer frame in blue. Whether every original prop was exactly the same is open to debate, but I think the blue frame looks much better against the body and gives the finished port a more balanced appearance. I'm certainly happy with the choice.
Fitting the rear octagonal port was quite straightforward. I first glued the rear mounting bracket to the port itself, then installed the complete assembly from inside the body before gluing it securely into place.
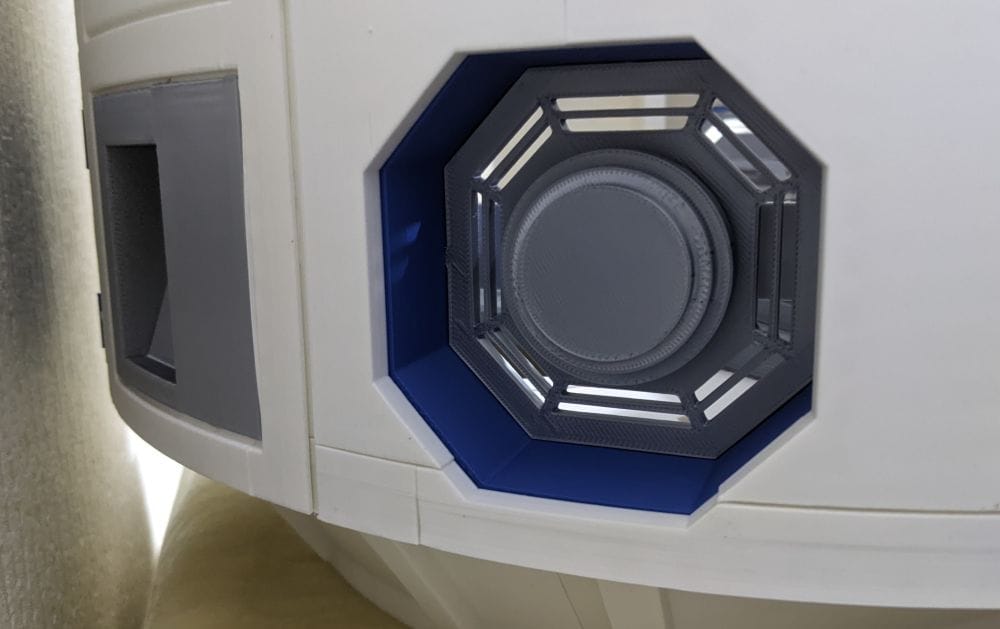
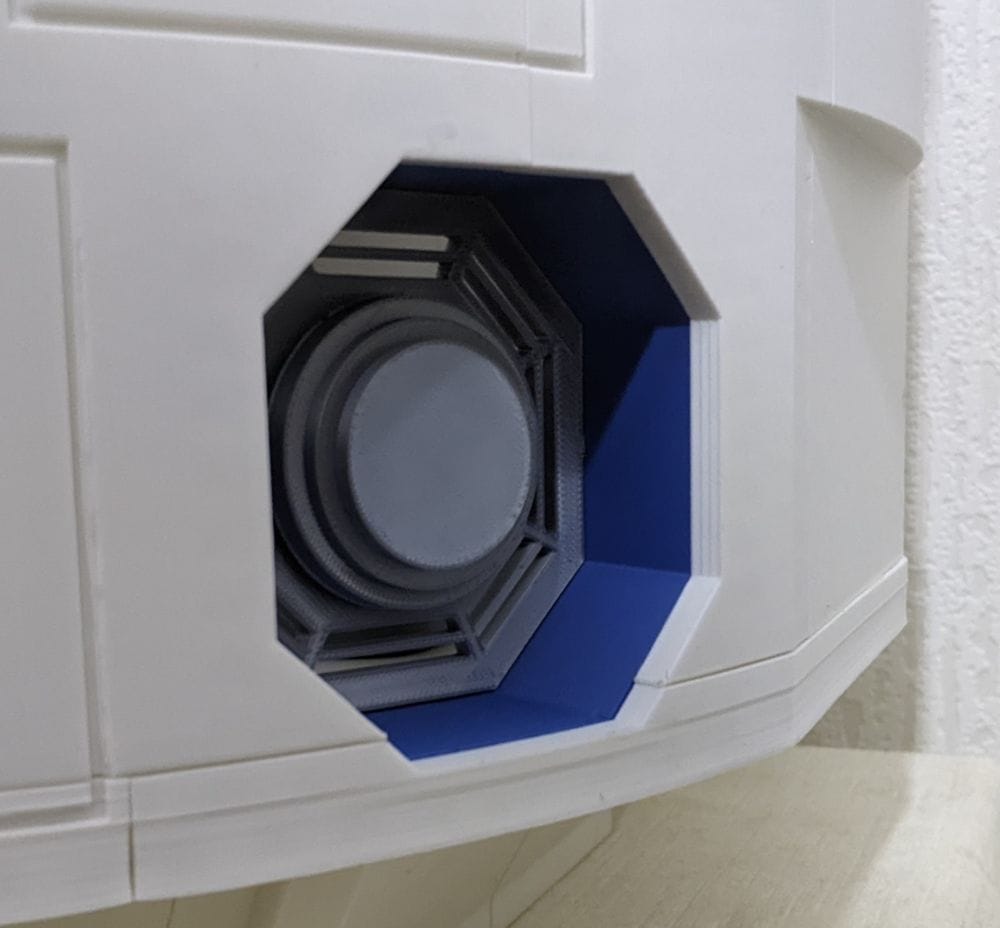
The front octagonal port, however, proved to be a little more challenging. The opening was much tighter, leaving very little room to manoeuvre the assembly into position. It took a bit of careful twisting and gentle adjustment to get everything lined up correctly, but with a little patience it eventually slipped into place. Once I was happy with the fit, I glued it in position, completing another section of the body.
Front Vents
The next parts to print were the front vents, and this assembly turned out to be a little more unusual than I had expected. The upper and lower vent inserts were both printed in silver, while the outer blue frame had actually been printed much earlier when I first started assembling the body. The final piece was the rear mounting bracket, which I simply printed in white as it would never be visible once installed.
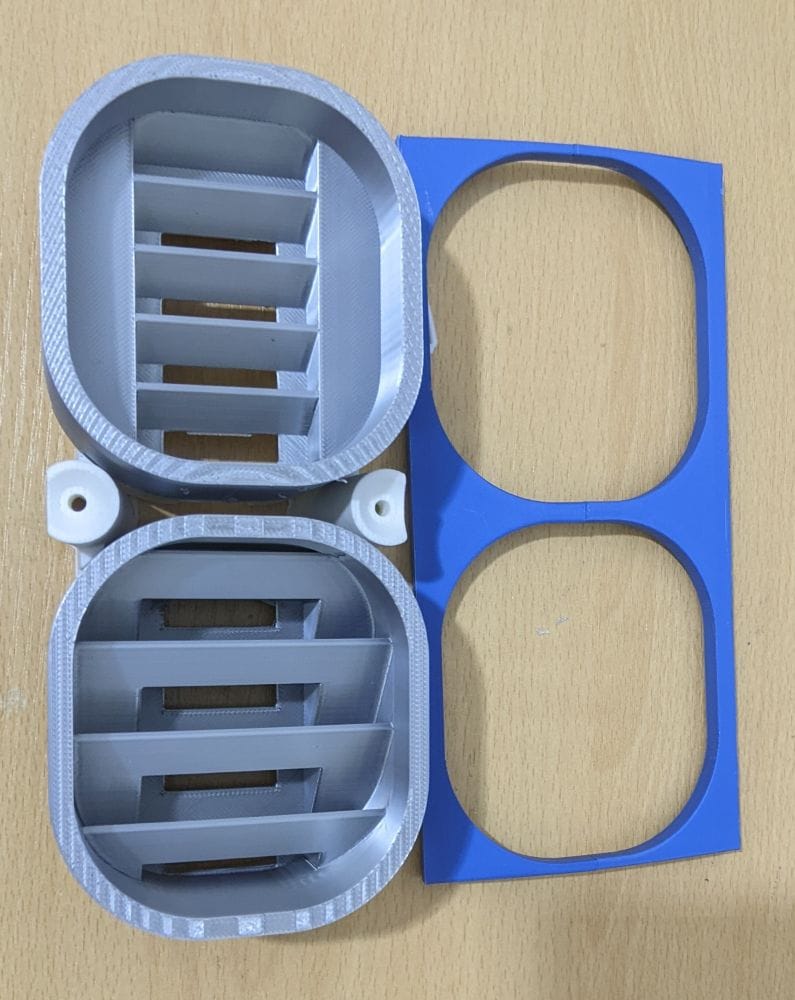
After assembling the parts and carrying out a quick test fit, I was really pleased with how they looked. However, this was where I became a little confused. The original CAD drawings showed a completely different rear bracket from the one included in the downloadable print files. The CAD version was designed to hold two speakers, whereas the supplied printable version was a much simpler bracket.
For a while I considered recreating the speaker bracket from the CAD drawings, as I had done with a few other missing parts earlier in the build. In the end, though, I decided it wasn't worth the extra work. As I'm not fitting any electronics or speakers to my R2-D2, the supplied bracket was perfectly adequate for my needs, and it meant I could continue the build without having to design and print another custom part.
Grills Back and Front
The next parts to print were the front and rear grilles, with each assembly made up of nine separate pieces. These were a little unusual because the main silver grille was printed as two separate sections, each positioned on the print bed at roughly a 45-degree angle. I wasn't entirely convinced the printer would cope with such an overhang without causing problems.
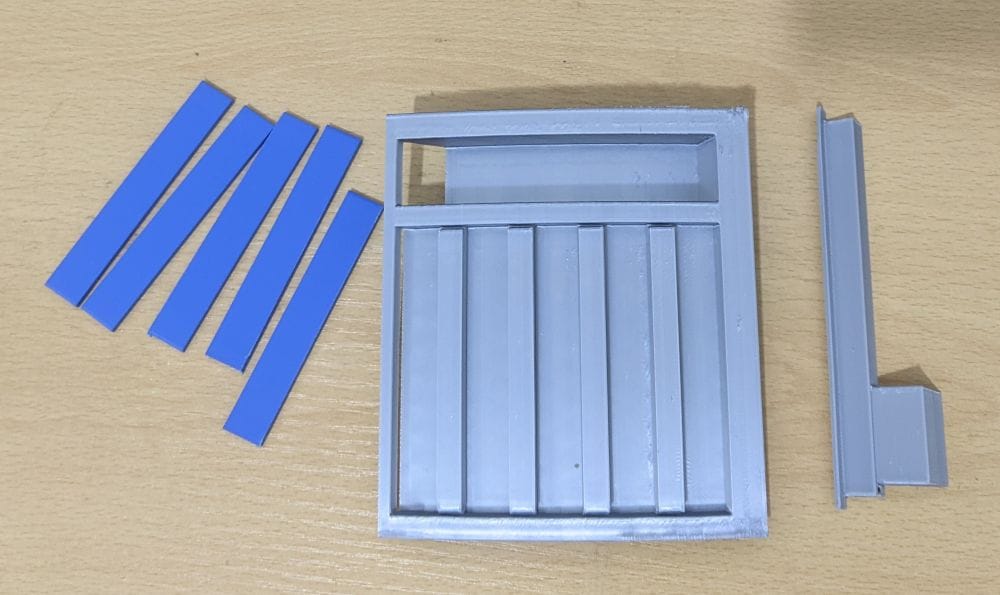
To my surprise, the prints came out remarkably well. The very top of each grille, where the angle became most acute, was a little untidy, but it was only a minor imperfection and cleaned up easily enough. Overall, I was very pleased with the quality of the finished prints.
Assembly was straightforward. The two silver grille sections were aligned and joined together using short lengths of filament as locating pins before being glued. Once they had cured, the five blue trim pieces were fitted, transforming the appearance and giving the grilles a much more finished, screen-accurate look.
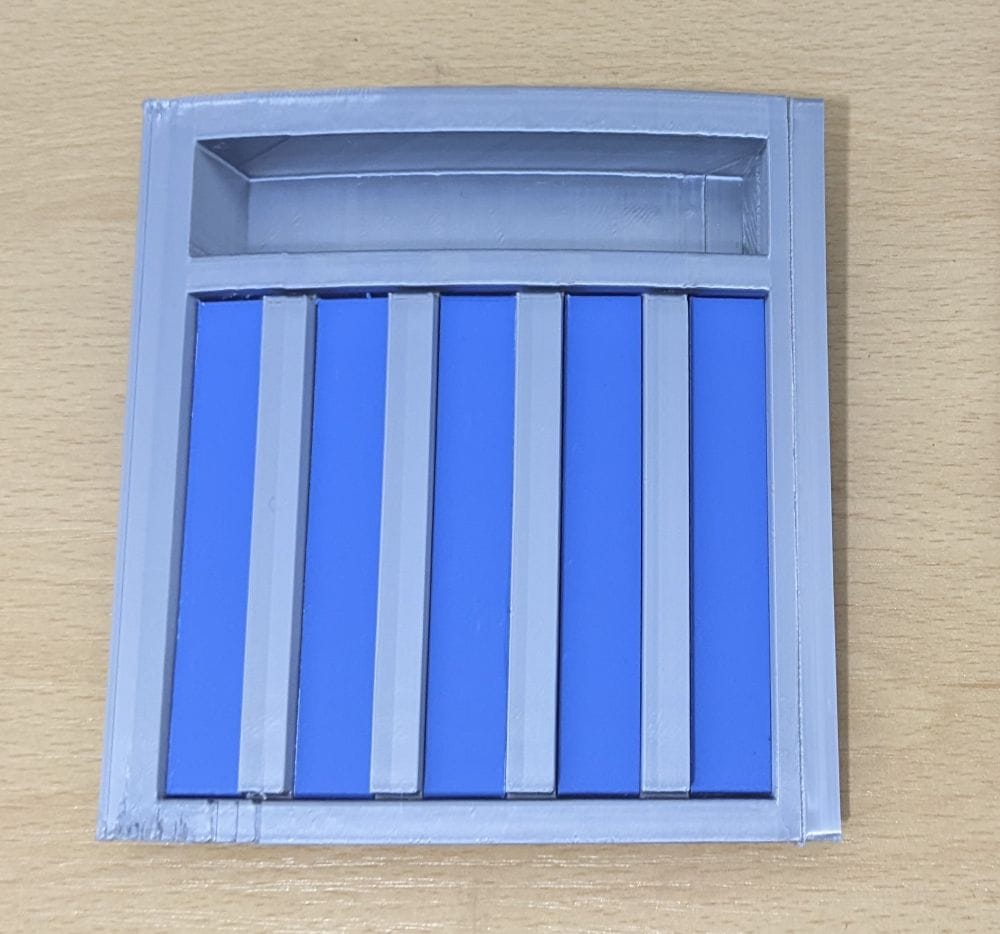
As with several of the other body greebles, a rear mounting bracket was also included, allowing the completed grille assembly to be screwed into the body if required. Since I had already decided to glue all of my greebles in place permanently, I didn't need to use the brackets, although they would certainly be useful for anyone wanting the parts to remain removable.
With the front and rear grilles fully assembled and the glue cured, fitting them to the body was one of the easiest parts of the build. They dropped neatly into their openings, and after checking the alignment one final time, I glued them securely into place.
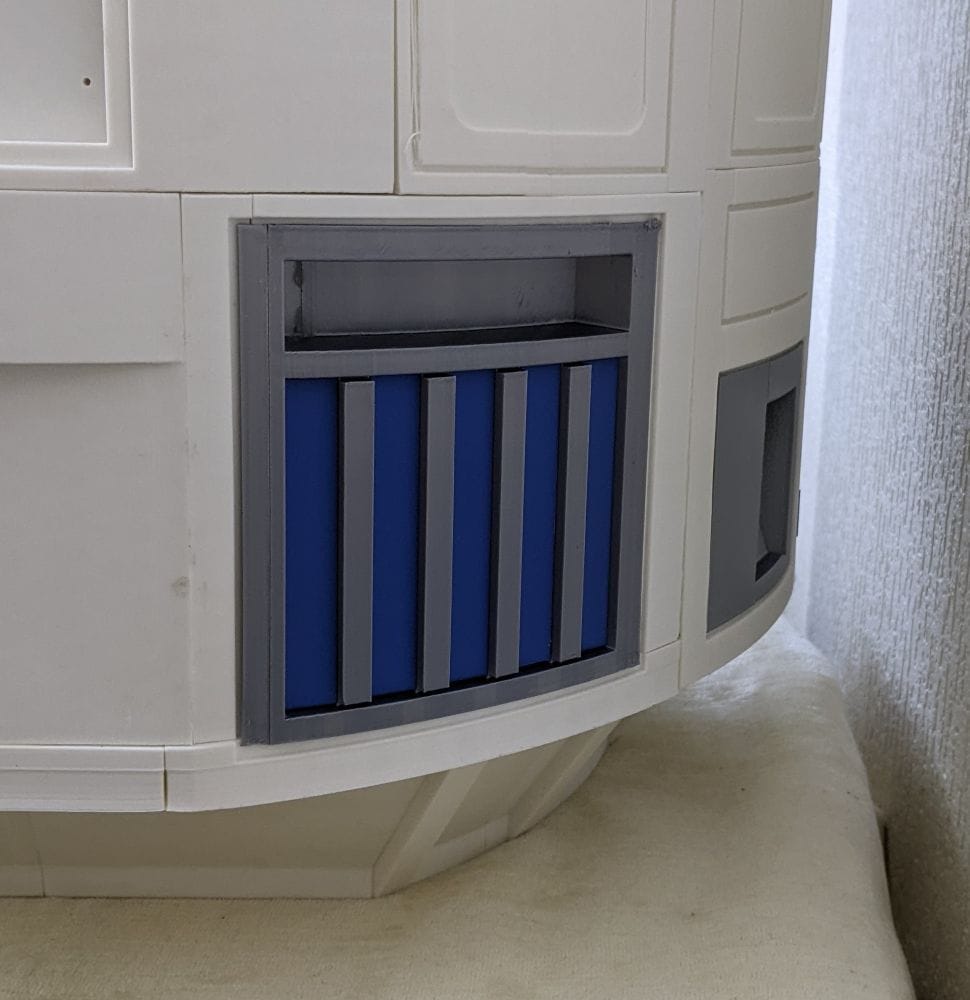
Once both grilles were fitted, they made a noticeable difference to the overall appearance of the body. Like many of the other greebles, they added another layer of depth and detail, making the R2-D2 look increasingly complete rather than just a collection of printed panels.
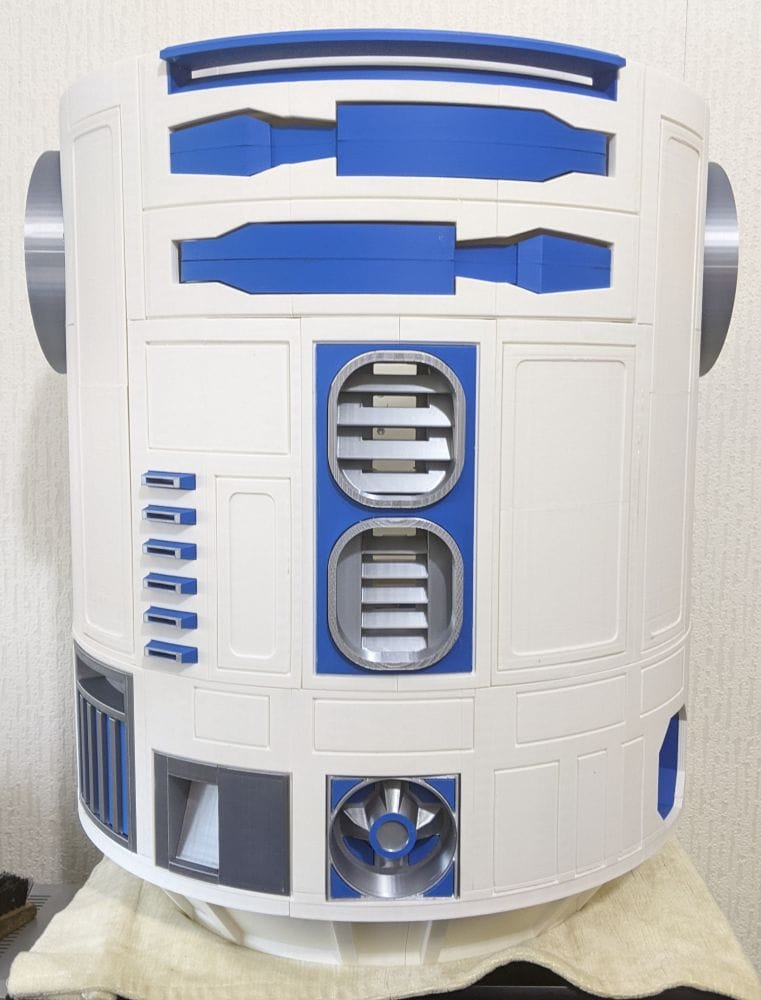
Side Vents Left and Right
The final parts to print for the body were the left and right side vents. Their design was very similar to the front and rear grilles, although they were a different size. The main silver vent was once again split into two pieces and printed at roughly a 45-degree angle, with the blue trim pieces printed separately before being assembled.
Having already printed the front and rear grilles, I knew what to expect this time. The printer handled the angled sections just as well, producing only a few minor imperfections that were easy to clean up. Once the silver sections had been joined together and the blue trim pieces glued into place, the finished vents looked every bit as good as the other grilles.
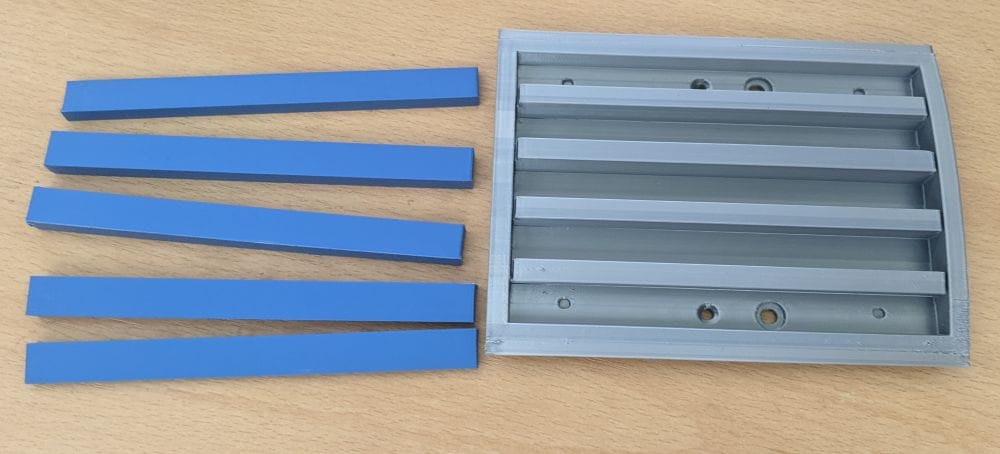
The left and right side vents printed in much the same way as the front and rear grilles. Overall, the prints came out very well, with only the very end of each vent becoming slightly untidy where the angle was at its steepest. Fortunately, the imperfections were only minor and didn't detract from the finished appearance.
The blue fingers were printed separately and were a little different from those used on the front and rear grilles. Because they were curved, it was important to check their orientation carefully before gluing, as it would have been very easy to fit one the wrong way around.
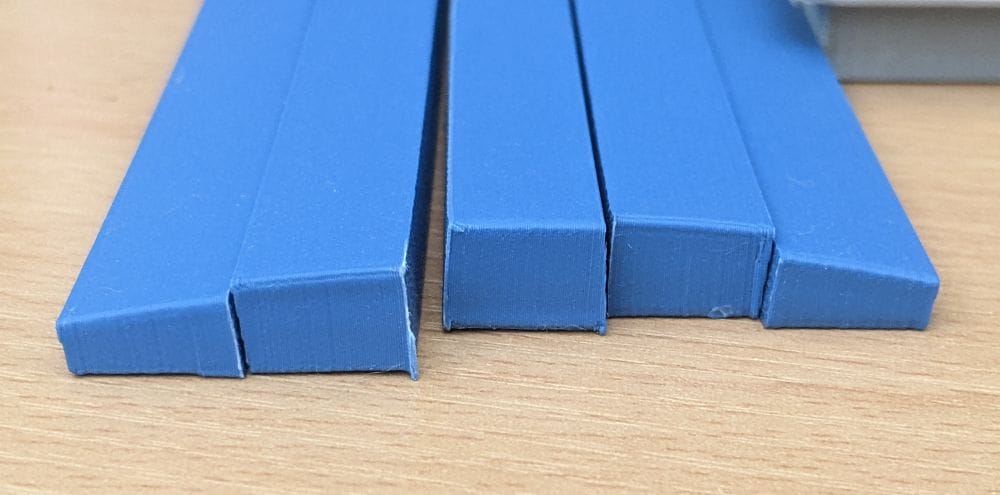
These side vents were originally designed to be bolted to the body through the shoulder assemblies. The outer fingers were intended to be held in place with magnets, allowing them to be removed later to gain access to the fixing bolts. As I had no intention of bolting the vents in place, there was no need for the magnetic arrangement. Instead, I glued the blue fingers permanently into the vents before gluing the completed assemblies directly onto the sides of the R2-D2 body.
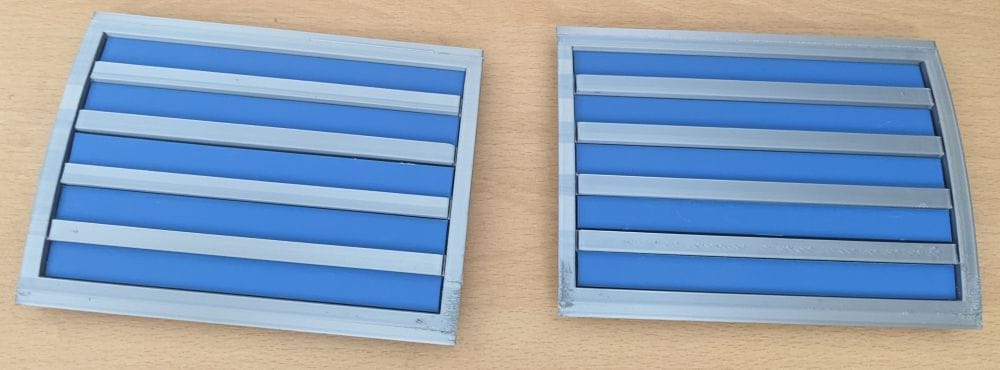
With the blue fingers glued into the vents, everything looked exactly as it should. I was particularly pleased to see that I'd got the orientation right, as it would have been all too easy to glue one or more of the curved fingers in the wrong way around. Thankfully, a careful dry fit beforehand paid off, and the completed vents looked just as I had hoped.
With the vents fully assembled, I glued them into position beneath the shoulders on each side of the R2-D2 body. After checking the alignment one last time, I left the glue to cure before standing back to admire the finished result.
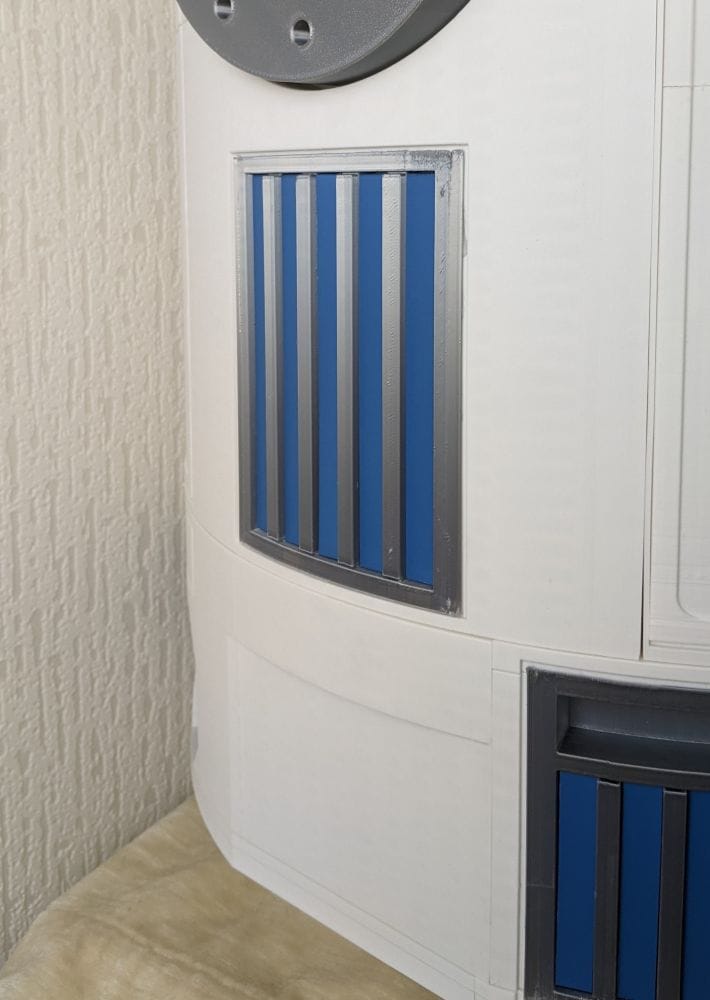
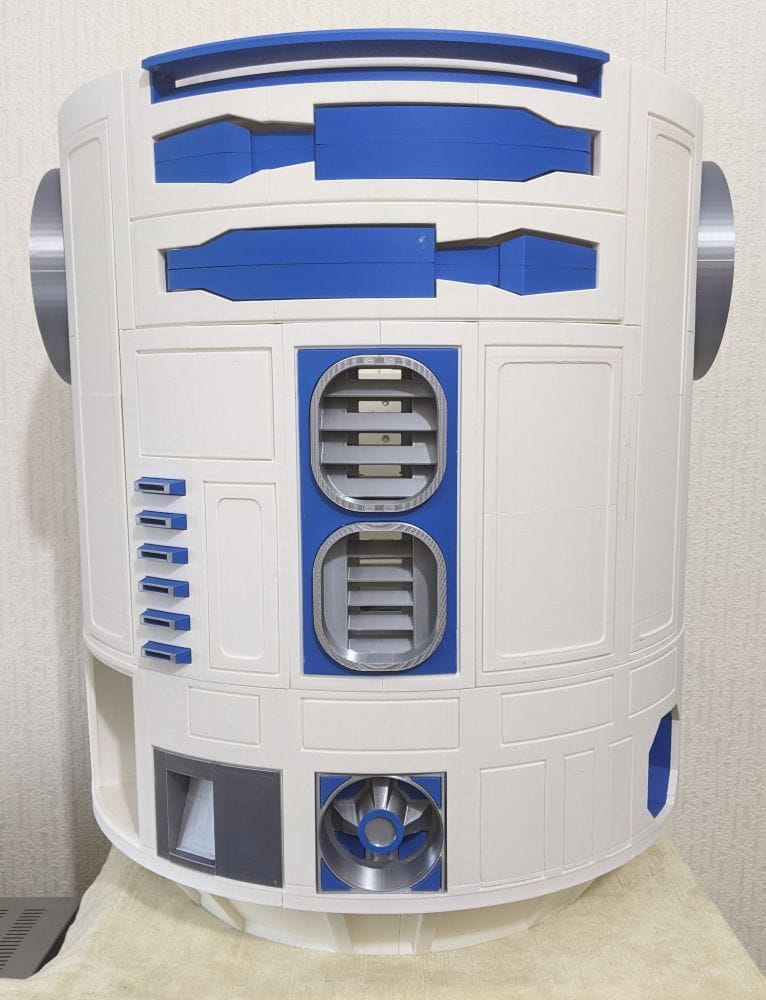
And with that, the body greebles were finally complete.
It had taken quite a few prints, a lot of reference checking, and more than a little thought about the correct colours, but it had all been worthwhile. Every new detail had added a little more character to the build, and the body now looked far closer to the iconic R2-D2 than it had when it was simply a collection of white and blue panels. With this stage finished, it was finally time to move on to the next major part of the build: the legs and centre foot.