
R2-D2 Part 4: Ring 3
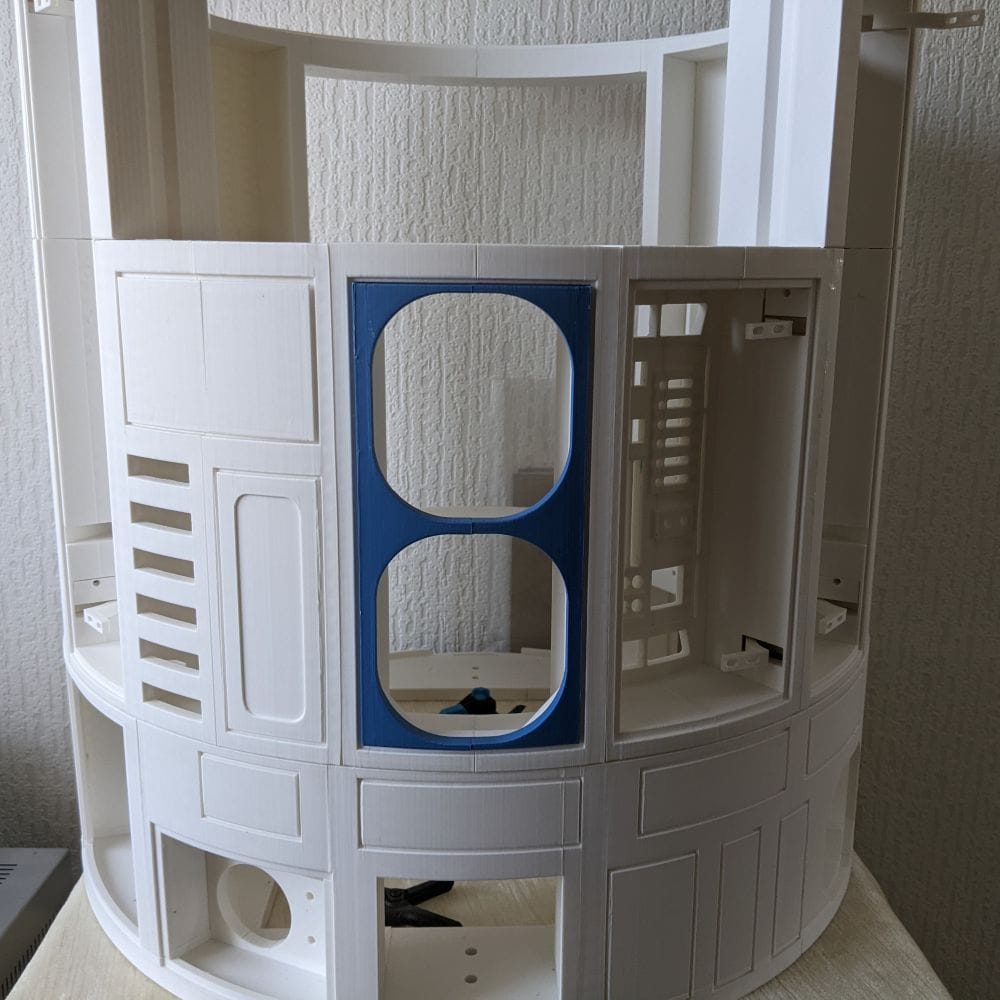
Ring 3 completed the main body frame of my full-size 3D printed R2-D2. Before moving on to the skirt, curiosity got the better of me and I printed the first blue vent panel. Seeing that splash of colour for the first time was a real milestone in the build.
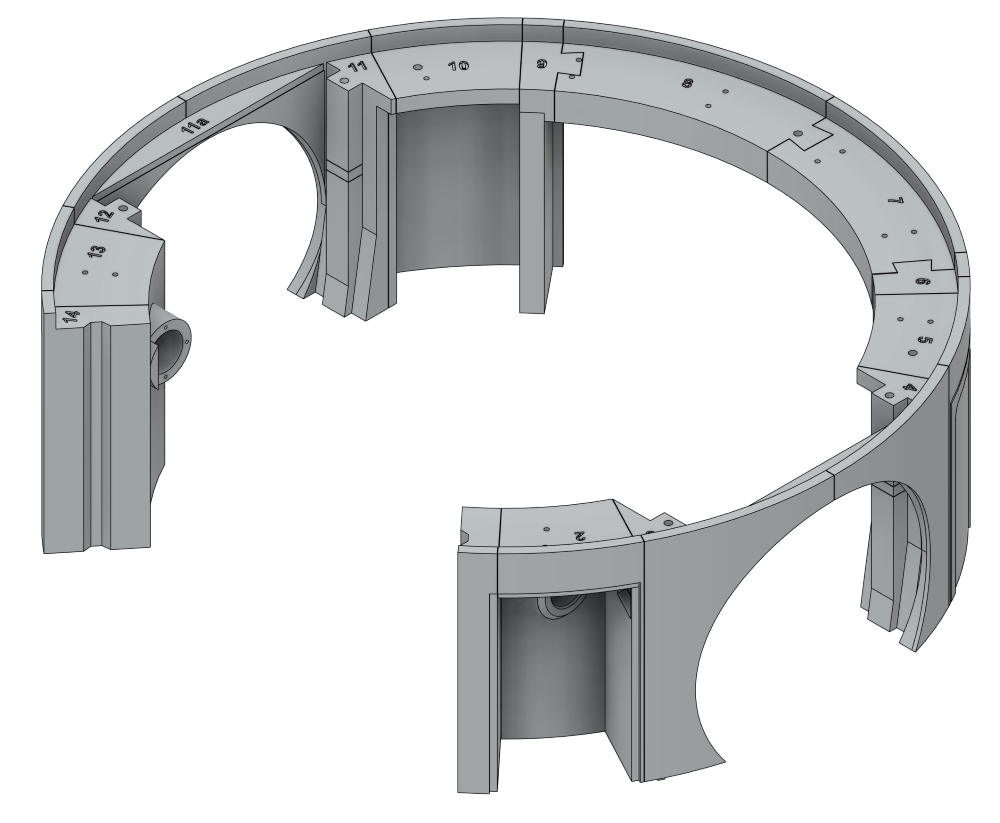
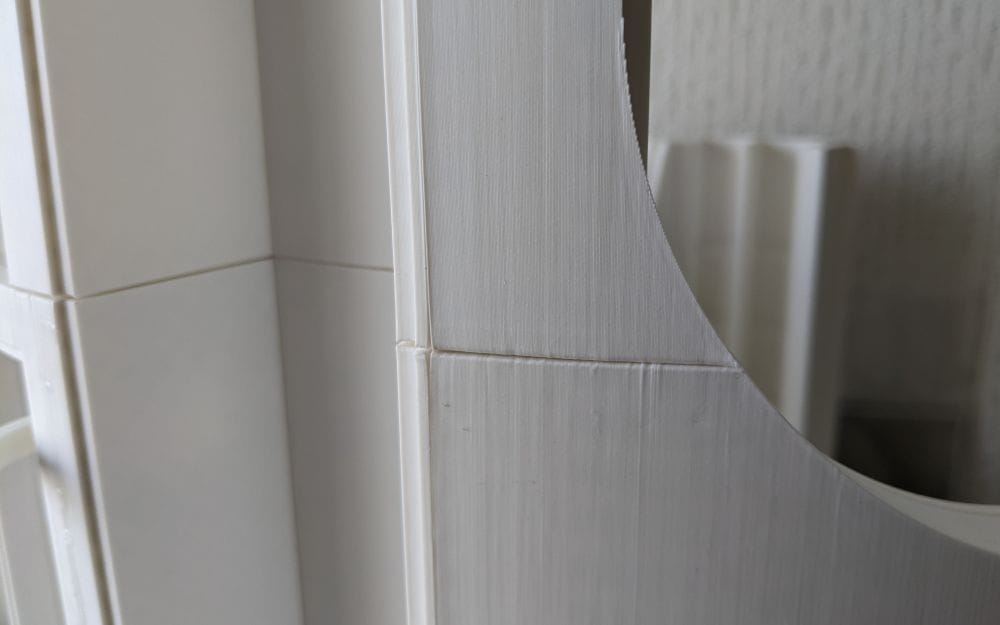
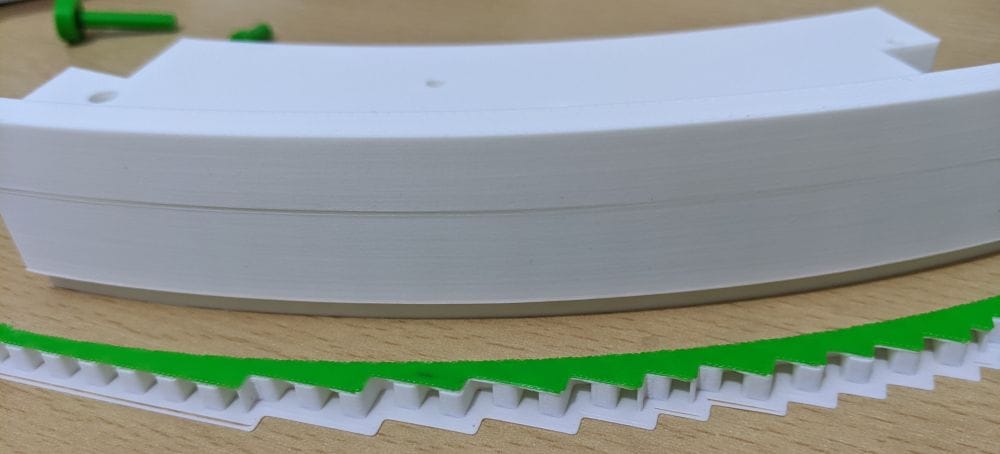
Ring 3 is made up of 16 parts and, at first glance, looks like it should be a much easier stage of the build compared to the earlier rings — though by this point I’ve learned not to trust first impressions too much. Every section of this R2 build has had its own little surprises, whether it was awkward supports, alignment issues, warped parts, or glue-ups that turned into balancing acts. So while Ring 3 appears more straightforward on paper, I’m fully expecting a few challenges to show themselves once the printing and test fitting begin.
MB-Ring3-1 was a nice, straightforward start to the ring. The part sits flat on the print bed, so there were no real surprises during printing and it came out clean with very little effort needed afterwards.
MB-Ring3-2 looked a little more questionable at first because of the two locating lugs on the ends. Normally they would probably benefit from supports, but I decided to risk printing them unsupported since the same approach had worked on several earlier parts of the build. Thankfully it paid off again, and the part printed perfectly well without needing any extra support material.

I started the assembly by gluing MB-Ring3-1 and MB-Ring3-2 together first, mainly because their join was one of the simplest in the entire ring. The two parts meet along a straightforward L-shaped edge, which made alignment much easier compared to some of the awkward angled joins in the earlier rings.
Because the contact area was clean and easy to line up, I could concentrate more on getting the outer edges flush rather than fighting the parts into position. After a quick test fit, I applied the glue along the joining edge, pressed the two sections together, and held them firmly while checking the alignment from both the inside and outside of the ring.
The simple shape also meant the parts naturally wanted to sit in the correct position without twisting or flexing, which made the whole process feel much less stressful than some of the earlier assemblies. It was a nice confidence boost at the start of Ring 3 and gave me hope that this stage of the build might actually be as straightforward as it first appeared.
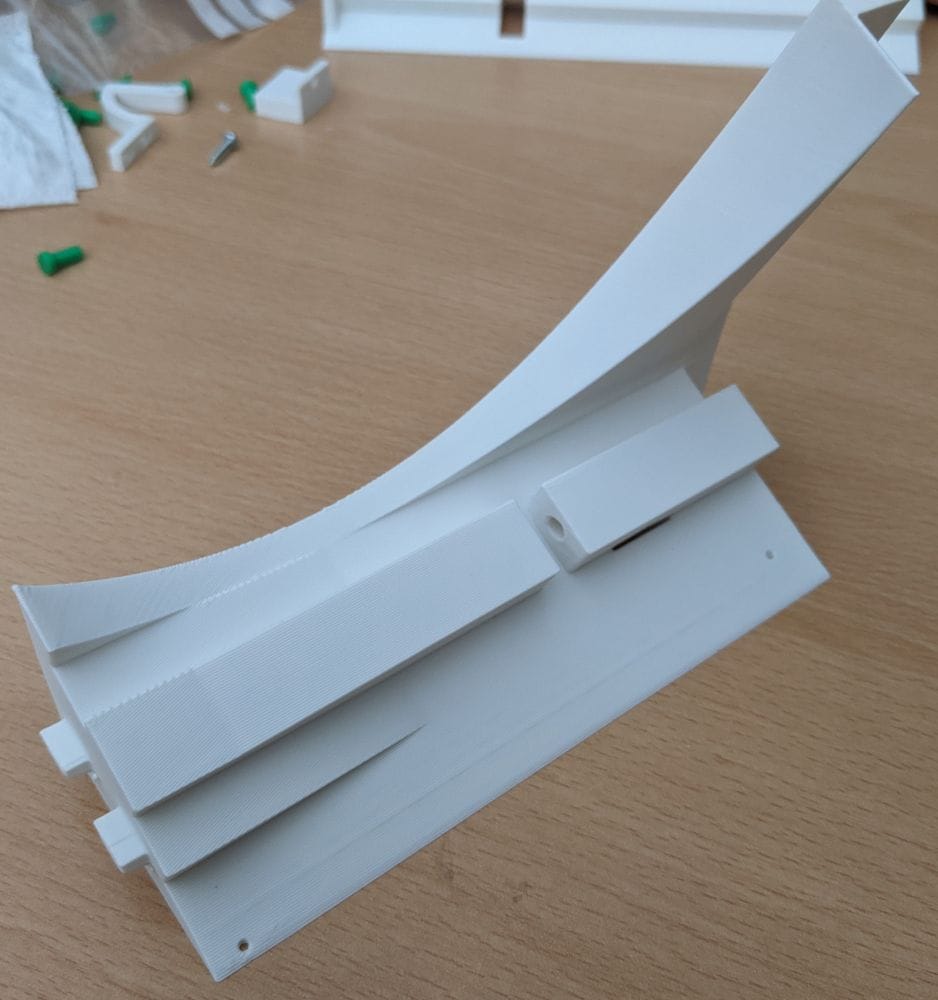
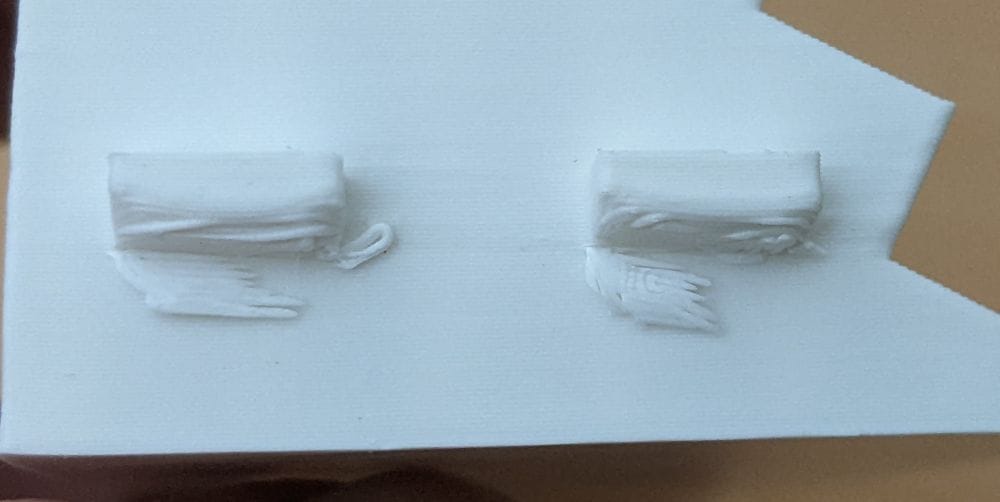
MB-Ring3-3 was a larger section but overall printed just as well. The main body of the part came out clean and solid, though the unsupported end lugs didn’t fare quite as nicely this time. They were usable, but needed a bit of clean-up with a knife afterwards to tidy the edges and get them fitting properly. Nothing major, but it showed that unsupported lugs can still be a bit hit-and-miss depending on the size and shape of the part.
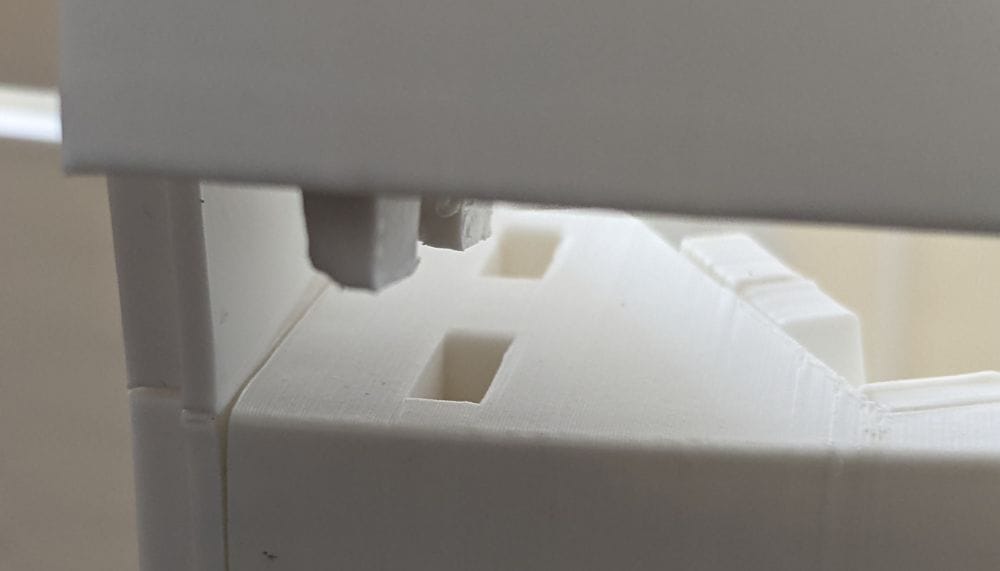
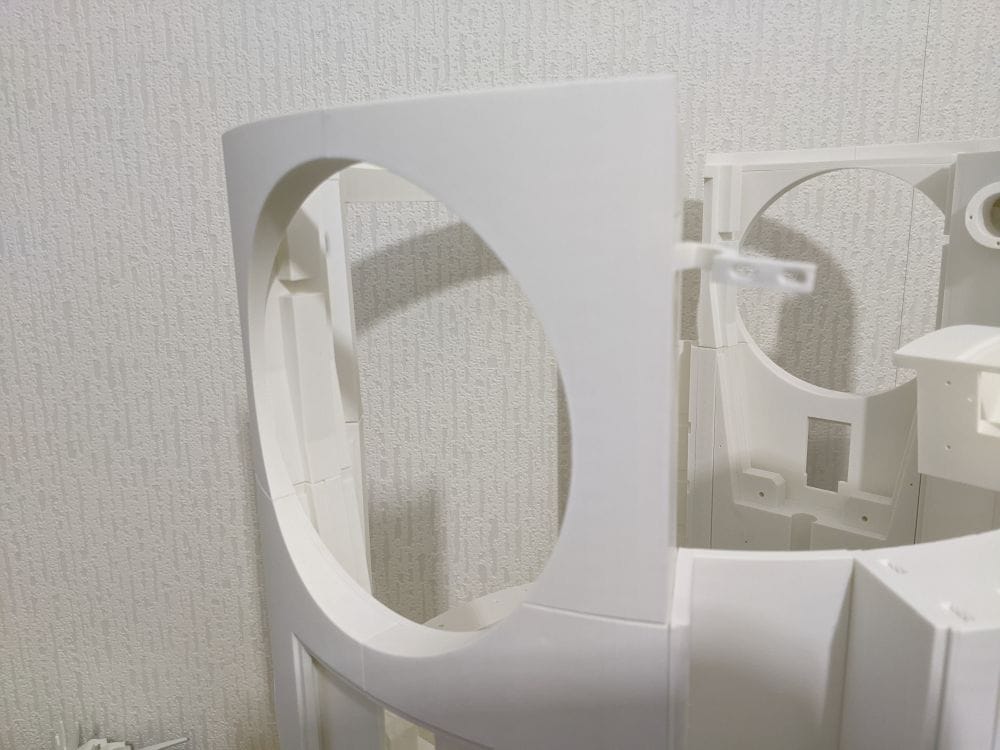
One thing that immediately made Ring 3 feel more refined was the way it interfaces with Ring 2. The top of Ring 2 has recessed areas designed specifically to accept the locating lugs from Ring 3, so before going any further with assembly I decided to do a quick test fit to see how everything lined up.
Even without glue, the parts could already be positioned accurately thanks to the recesses guiding the lugs into place. It was reassuring to finally see the two sections starting to lock together properly, especially after spending so much time building the lower rings individually. The fit also gave me a chance to check for any warped sections or areas where the unsupported lugs might need additional trimming before final assembly.
With the small amount of clean-up done, the first three Ring 3 sections seated much more naturally together. The joins lined up cleanly, the locating lugs dropped neatly into the recesses on Ring 2, and for once it felt like the parts were cooperating rather than needing to be persuaded into position.
As I adjusted the sections and pressed them together, the shape of the ring immediately started to look right. The gaps along the joins were minimal, the curves flowed properly from one section into the next, and the whole assembly looked almost like a perfect fit straight away. After some of the alignment struggles and slight warping issues from the earlier rings, it was honestly a pleasant surprise.
It also gave me a bit more confidence in the design of Ring 3 overall. Up to this point, a lot of the build had involved small corrections, trimming, clamping, or carefully pulling sections into alignment while the glue set. Here though, the parts seemed to naturally settle into the correct position, helped by the locating lugs and recesses doing exactly what they were designed to do. Seeing the three sections sitting together so cleanly made the build suddenly feel much closer to becoming a complete R2 body rather than just a collection of printed parts.
I honestly expected MB-Ring 3-3, MB-Ring 3-4, and the connecting piece MB-Ring 3-3a to cause problems. The design immediately reminded me of some of the similar multi-part joins on Ring 2, and those had been some of the more awkward parts of the entire build when it came to alignment. On Ring 2, I’d dealt with slight warping, pieces wanting to pull out of square, and joins that needed careful clamping and persuasion to sit correctly, so I went into this section fully expecting another battle.
Before committing to glue, I dry-fitted the three parts together just to see how bad it might be — and to my surprise, everything simply dropped into place. The connecting piece lined up properly between the two larger sections, the edges matched up cleanly, and the curves flowed together exactly as they should. There was no twisting, no forcing the parts into position, and no gaps suddenly appearing when pressure was applied to another section.
It was one of those rare moments during a large print project where things worked exactly the way you hoped they would on the first attempt. After being mentally prepared for another fiddly alignment job, having the parts fit together perfectly almost felt suspiciously easy. The clean fit also meant I could move forward with much more confidence, knowing I wouldn’t need the same amount of clamping, trimming, or corrective pressure that some of the Ring 2 joins had required.
Parts MB-Ring 3-5 through to MB-Ring 3-9 all printed extremely well using PLA with PETG support interfaces. By this stage I’d become much more comfortable with the PETG support method, and once again it proved to be worth the extra setup. The supported surfaces came out clean, the overhangs held their shape properly, and the supports separated without too much effort afterwards.
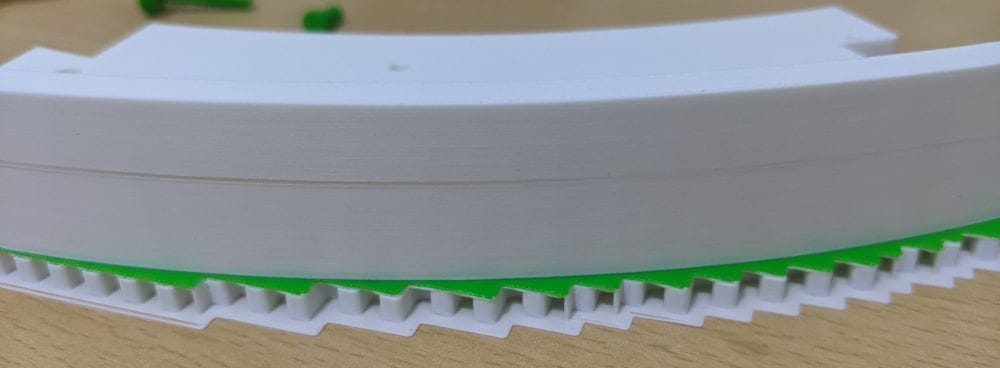
What stood out most with these parts was just how cleanly everything printed compared to some of the earlier rings. There were no major support scars, no serious warping, and very little clean-up needed beyond the usual quick trimming and inspection. The PETG interface continued to make a huge difference, especially on the more awkward supported areas where normal PLA supports would probably have left a rougher finish.
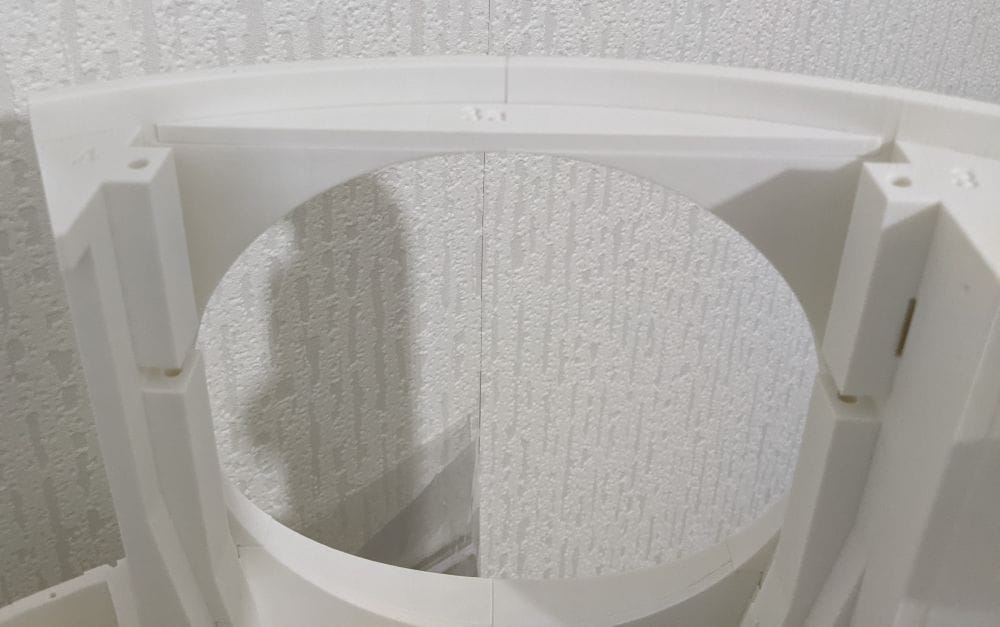
Once all the sections were cleaned up, I laid them out and did another test fit to get an idea of how the next section of Ring 3 would assemble. At this point I was still half expecting at least one section to fight back a little, simply because large curved assemblies rarely go together perfectly first time. But yet again, surprisingly, everything just fit.
The joins lined up naturally, the curves matched smoothly from one section to the next, and the locating features seemed to guide the parts exactly where they needed to be. Instead of needing clamps or pressure just to hold the shape, the sections almost supported themselves once placed together. After the amount of adjustment and careful alignment some earlier rings had needed, Ring 3 was beginning to feel oddly cooperative — almost like all the little lessons learned during the earlier stages were finally paying off.
After the three pieces that make up the shoulder section had been glued together on both sides, I turned my attention to the rear section of the ring. With the shoulders completed, the overall shape of Ring 3 was becoming much easier to visualise, and it made sense to tackle the back as a separate sub-assembly before bringing everything together.
The rear section consists of four parts, and compared to some of the more complex areas of the ring, these joins were relatively straightforward. As usual, I started with a dry fit to check the alignment and make sure there were no surprises waiting for me. Fortunately, the parts lined up nicely and followed the curve of the ring exactly as expected.
Once I was happy with the fit, I applied the glue and assembled the four sections one at a time, paying close attention to keeping the outer surfaces flush and the internal joints aligned. Having learned from earlier stages of the build, I took my time and checked the fit after each join rather than rushing to complete the whole section in one go.
The process was far less stressful than some of the assembly work on Ring 2. The parts seemed to naturally settle into position, requiring very little persuasion or clamping to maintain their alignment. Before long, the entire rear section was assembled and beginning to resemble a substantial portion of the finished ring. With the shoulders and back now completed as separate assemblies, Ring 3 was rapidly transforming from a collection of printed parts into a recognisable section of R2's body.
With the shoulder assemblies completed on both sides and the rear section glued together, there were only a couple of pieces left to install. These final sections bridge the gap between the back assembly and the shoulder sections, effectively tying the entire ring together into one complete structure.
As with the rest of Ring 3, I started with a quick test fit before reaching for the glue. The parts lined up well and slotted into place without much fuss. Once the glue was applied, I carefully checked the alignment around the joins to make sure the curves flowed smoothly between the shoulders and the rear section.
One side needed a slight adjustment while the glue was still setting. Nothing dramatic—just a small amount of repositioning to get the edges sitting exactly where I wanted them. Compared to some of the alignment challenges I'd faced on Ring 2, it barely registered as a problem. A little pressure and a quick check of the surrounding joins was all that was needed before everything settled into place.
With those final pieces glued in position, Ring 3 was complete. Looking back, it turned out to be one of the most straightforward stages of the body assembly so far. After going into the build expecting a few troublesome joins and possible alignment headaches, it was a pleasant surprise to find that most of the parts fitted together remarkably well. Apart from a little cleanup on some unsupported lugs and the minor adjustment on the final join, Ring 3 assembled almost exactly as intended, making it a satisfying milestone in the progress of the full-size R2-D2 build.
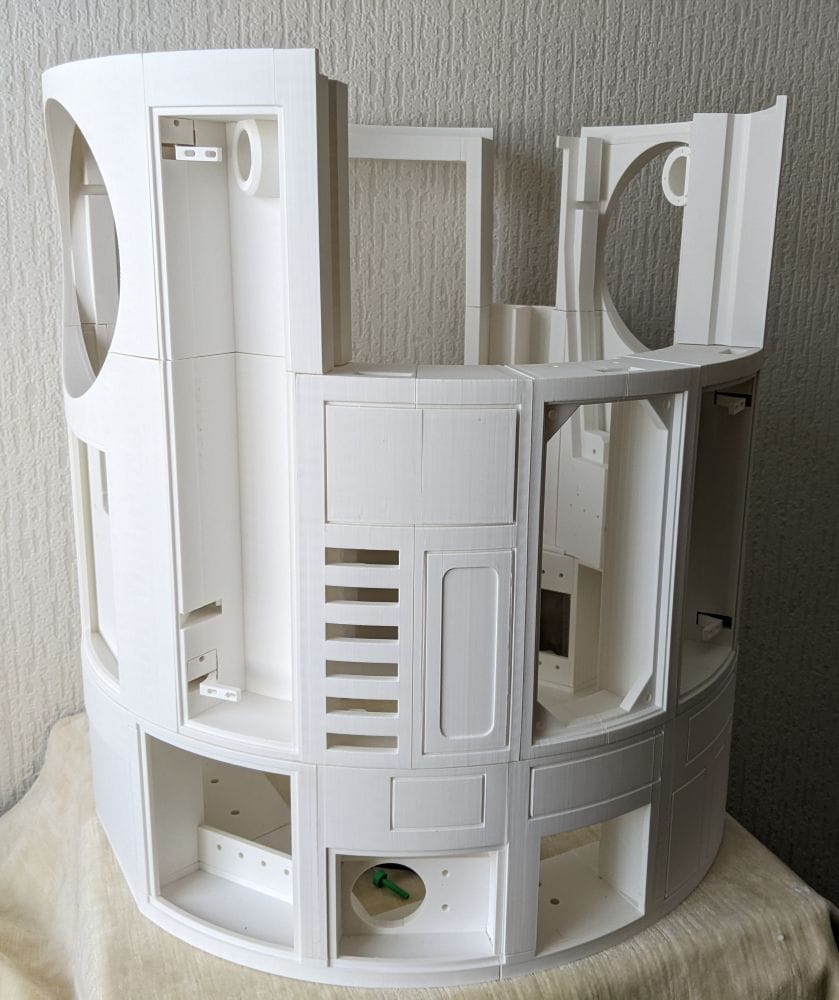
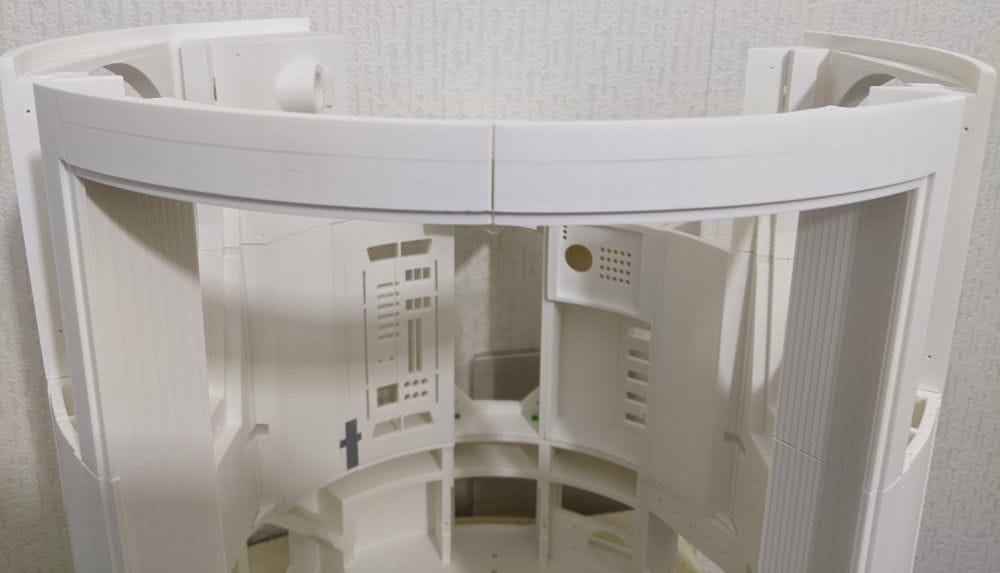
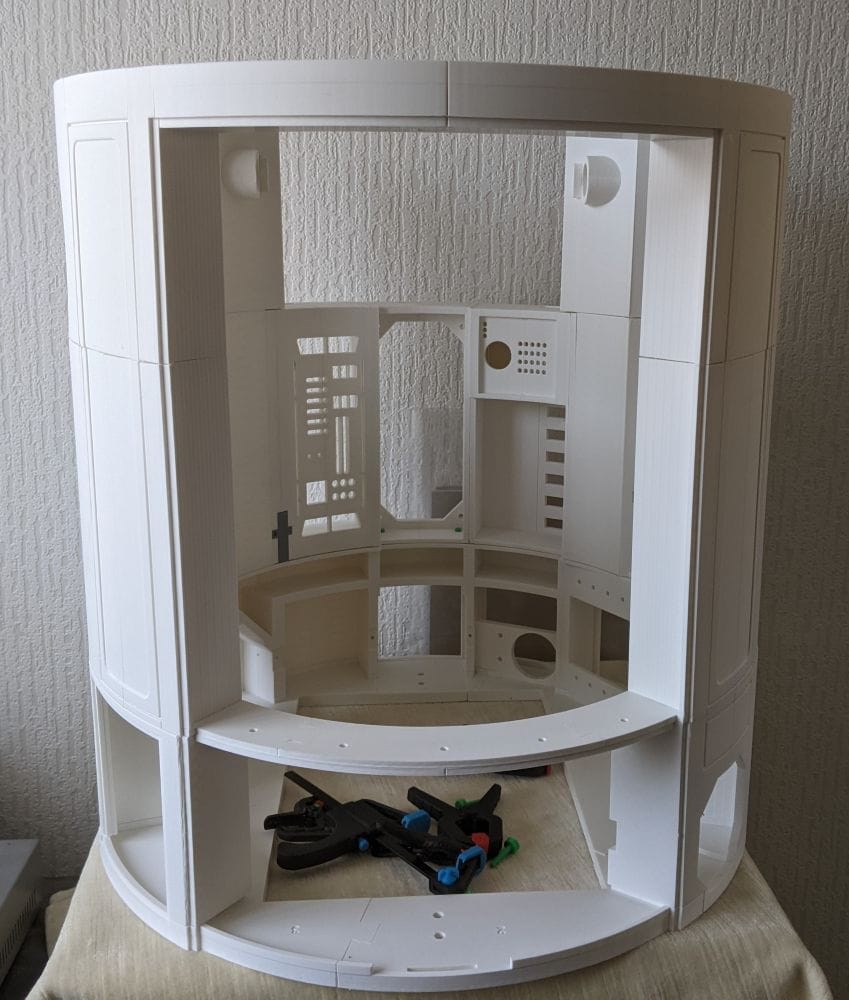
With the main body frame now complete, I finally had all four rings assembled. Each ring had been fully glued and strengthened, but I had deliberately stopped short of gluing the rings to one another. While the BSI Maxi-Cure had worked brilliantly for assembling the individual sections, joining the completed rings felt like a different challenge altogether. The body sections are large, and once glue is applied there is very little opportunity to make adjustments if something isn't quite aligned.
For that stage of the build, I wanted something with a much longer working time. A slow-curing adhesive would give me the opportunity to carefully align the rings, check that everything remained square, and make any small adjustments before the glue finally set. Having spent so much time getting the individual rings fitting well, I didn't want to risk ruining that work by rushing the final body assembly.
With the main frame complete and waiting for the right glue, it was technically time to move on to the skirt section of the build. But before I did, there was one thing I had been wondering about ever since I started printing the body panels.
The vent panel.
Up until now, most of the build had been printed in white, with the blue sections existing mostly in my imagination. I knew eventually the coloured panels would become one of the defining features of the finished R2-D2, but I hadn't actually seen how well the blue filament would work against the white body.
Curiosity got the better of me.
I didn't need the vent panel yet, and printing it wouldn't move the build forward in any meaningful way. But I just had to know what it would look like. Sometimes you need a small motivational print during a long project, something that lets you glimpse what the finished model might become.
So before starting the skirt, I loaded up the blue filament and printed the vent panel. It wasn't a necessary print, but it was one I was looking forward to seeing. After weeks of producing mostly structural white parts, this would be the first real hint of how the finished colour scheme might come together. And if I'm honest, I was probably more excited about seeing that little splash of blue than I should have been.
An Additional Note on Build Plates
One unexpected issue cropped up right at the end of Ring 3. Up until this point, I had been printing all of the main body parts on the Bambu A1's smooth build plate. Overall it had worked very well, providing a nice finish on the bottom surfaces of the parts, but it did have a few quirks.
The biggest was that I had to keep the plate scrupulously clean. If I forgot, adhesion problems would quickly appear. The opposite problem also occurred with smaller parts, which sometimes stuck a little too well and needed careful persuasion with a knife to remove them. Even after cleaning, I could often see faint "ghost" outlines of previous prints on the plate where parts had been printed.
When I came to print the blue vent panel, I hit a problem I hadn't experienced before. The print simply refused to stick to the smooth plate. Instead of laying down the first layer, the filament curled up and collected around the nozzle, creating the familiar spaghetti-like mess that tells you a print isn't going anywhere.
My first thought was that there was something wrong with the blue filament. I cleaned the plate thoroughly and tried again, but the result was exactly the same. After another failed attempt, I decided to switch over to the textured PEI plate.
The difference was immediate. The vent panel printed perfectly with no adhesion issues at all.
Whether the smooth plate was finally wearing out after all the hours of printing, or whether the textured plate simply suited this particular print better, I can't say for certain. What I do know is that the textured plate worked first time, and from this point onward it will be my default choice for the rest of the R2-D2 build.
In hindsight, I probably should have switched sooner.