
R2-D2 Part 15: Leg Booster and Greebles
Part 15 of my R2-D2 build covers the leg boosters and greebles, including the long boosters, silver struts, hydraulics, toggle joints and ankle bracelets.

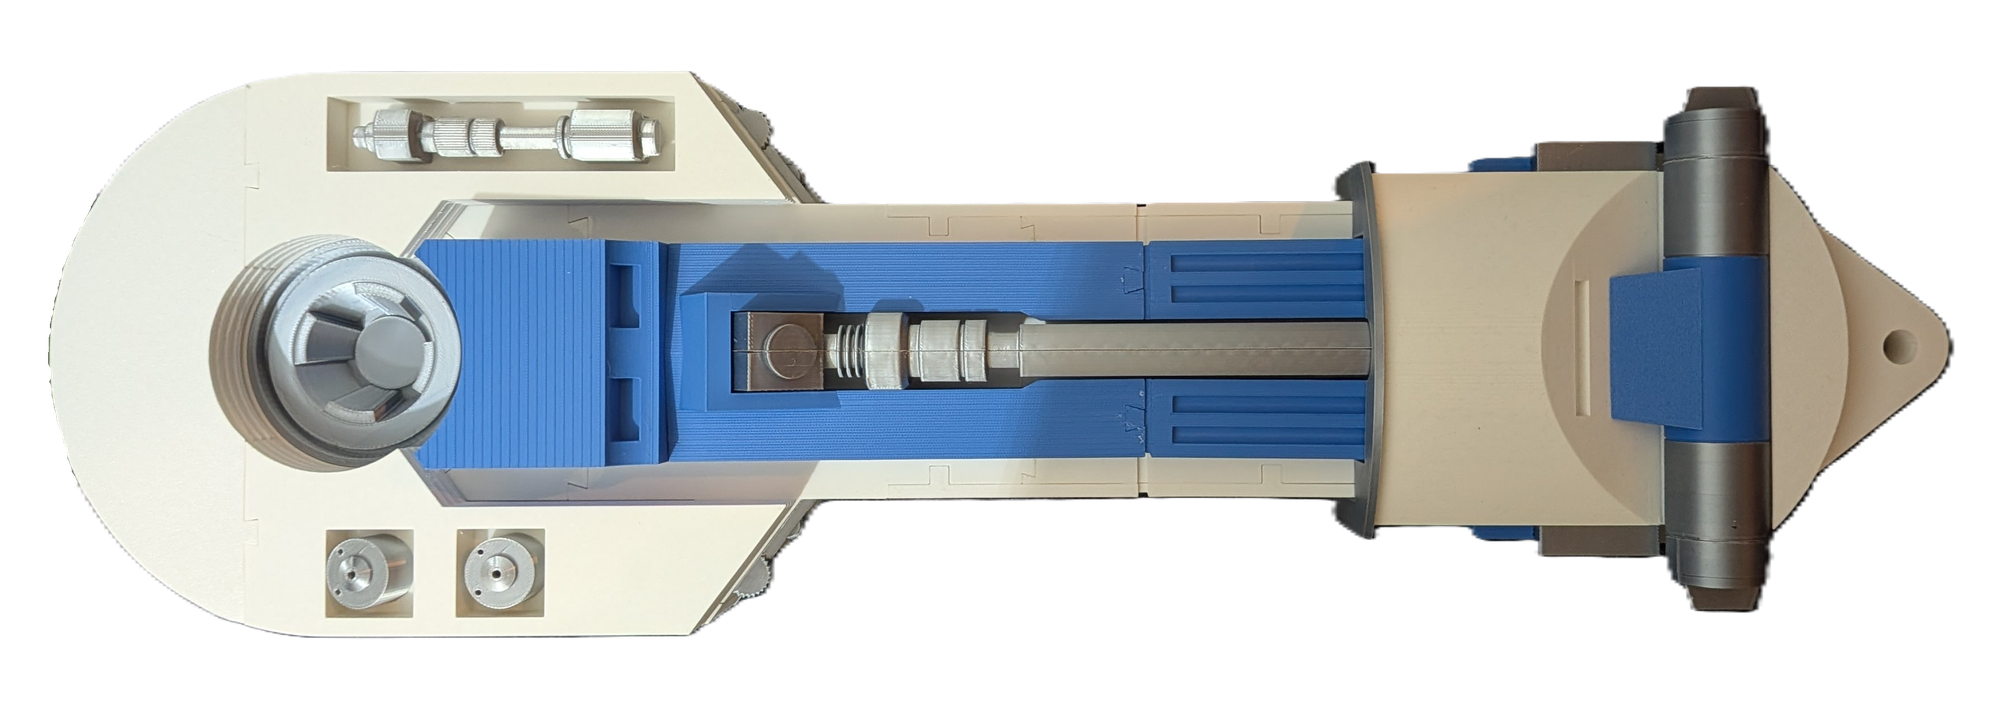
With the main leg sections taking shape, it was time to start adding the boosters and some of the smaller greebles that help bring the legs to life.
The boosters for the left and right legs are printed in blue and each one is made up of four parts. There are also connecting plates that join the two largest sections together. These plates are shaped to fit around the back of the booster and, importantly, they can only be fitted one way around. They also help locate the completed booster against the leg, working with the magnets I had already installed.
As with the leg sections themselves, the boosters are available in both standard and long versions. Since I'd already decided to build the longer-leg version, I printed the longer boosters to match.
When I printed the left-hand booster, I added supports underneath the part. These supports were specifically to help form the channels on the rear where the connecting plates fit. The result was a much cleaner surface and made fitting the plate relatively straightforward.
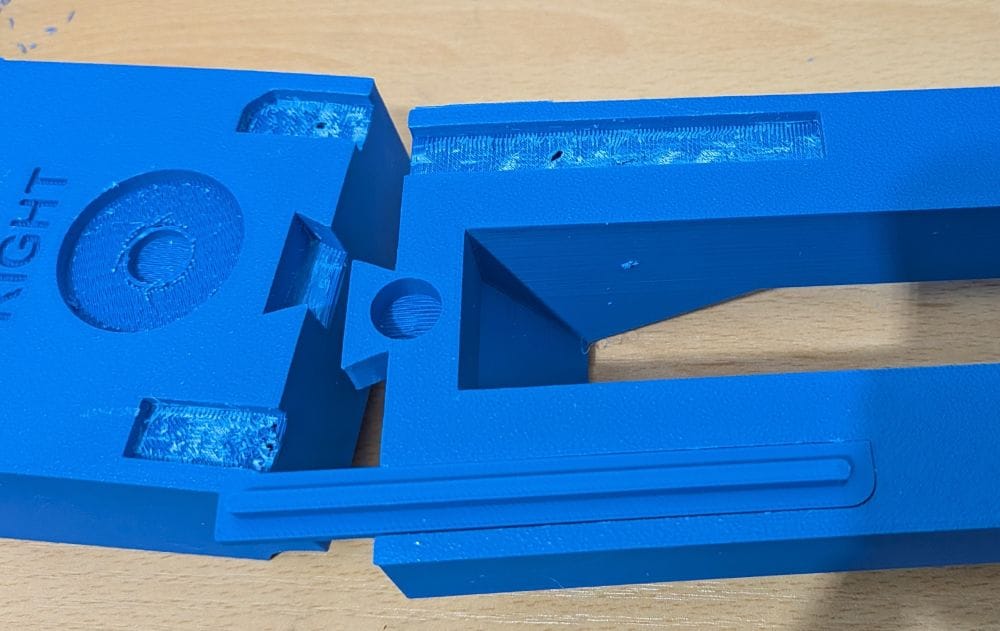
Unfortunately, when it came to printing the right-hand booster, I completely forgot to add the supports.
This didn't make the part unusable, but it did mean I had a bit more work to do afterwards. The unsupported sections on the back weren't quite as clean, and I had to spend some time carefully cleaning them up so the connecting plate would sit properly and flush against the booster.
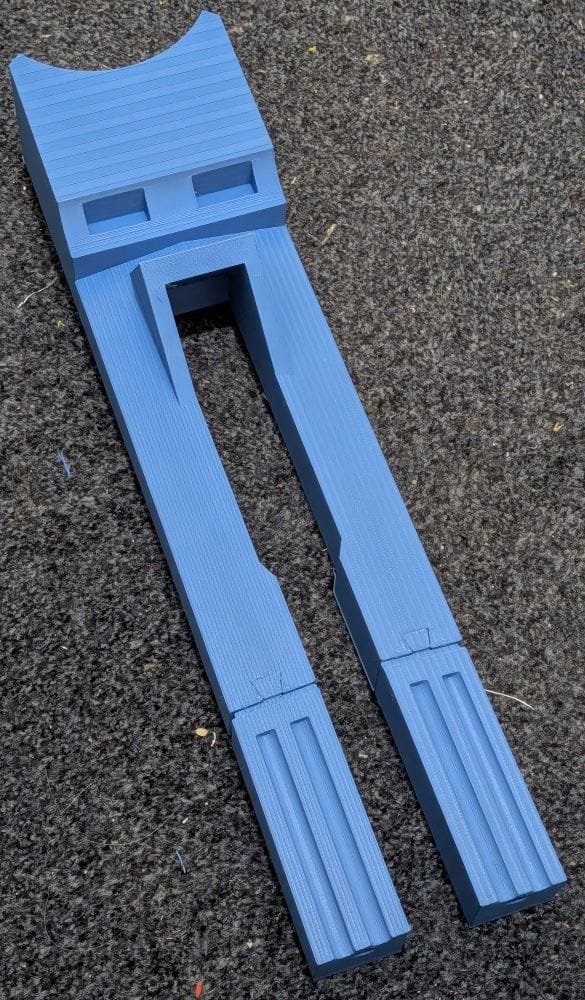
It's one of those small things that's easy to overlook when you're working through a large number of parts, but it definitely reminded me to check the print settings before starting the second side. Thankfully, with a little cleaning up, the right-hand booster was soon ready to go.
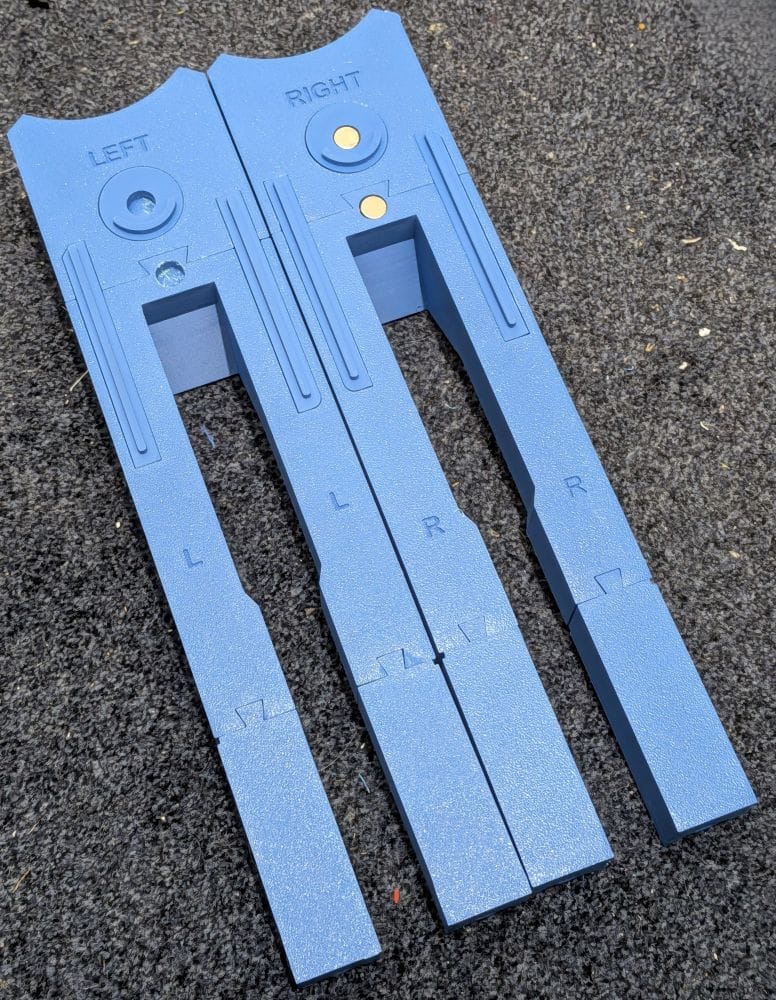
With the left and right boosters printed, I glued the separate sections together to form the completed booster assemblies. Once the glue had fully set, it was time to fit the magnets.
As I'd already discovered with the leg sections, getting the magnets the right way round is rather important! I carefully checked the polarity before gluing each one into place, making sure the boosters would attract to the corresponding magnets in the legs rather than repelling them.
I took my time with this stage and double-checked each magnet before committing it to glue. Once they're permanently fixed in place, getting one the wrong way round would be a particularly annoying mistake to have to correct.
I then moved on to the many silver parts that needed printing. The first of these were the shoulder buttons. There are two on each side, giving me two for the left shoulder and two for the right. These were very simple parts to print and required very little work once they were off the build plate.
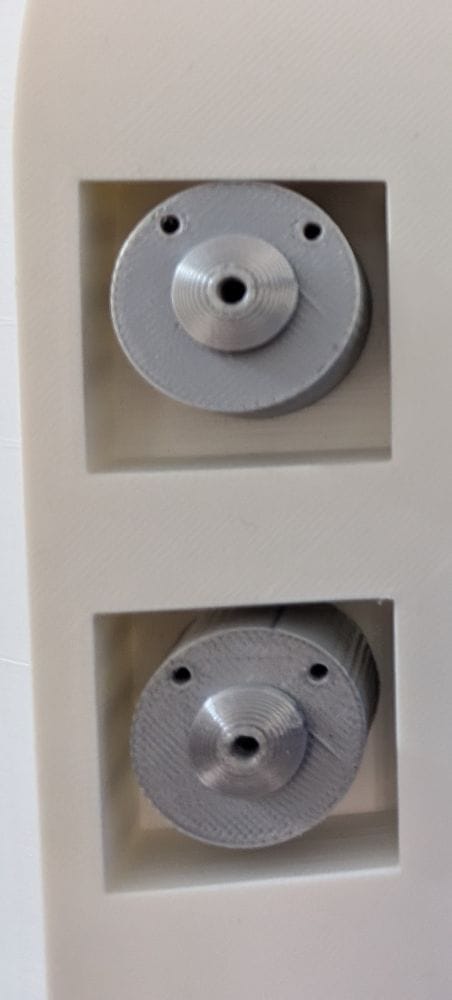
These were glued to the horseshoe, and I used tightly rolled-up paper as locating pins to get them in the right place.
Next came the leg struts. As with the boosters and other leg components, these are available in both standard and long versions, so I printed the long version to match the rest of my build. Each strut is made up of two parts which are joined together using small sections of filament as alignment pins.
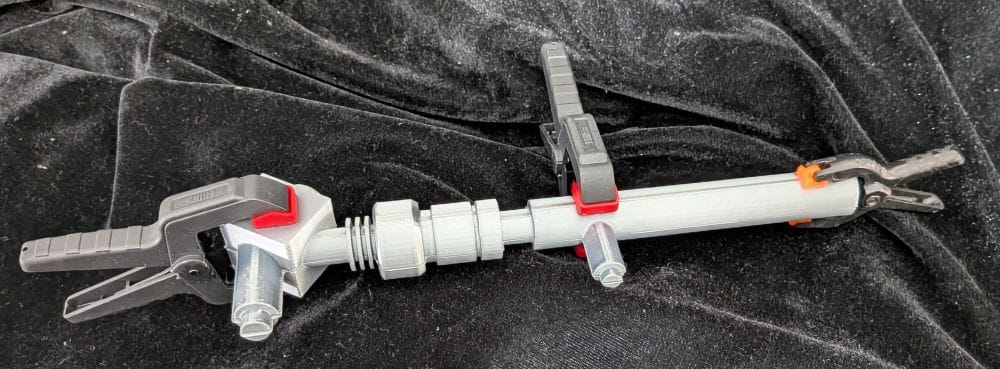
The print itself went well, although removing the brim was a little time-consuming. There are a lot of small, intricate edges around the struts, which meant I had to take my time cleaning them up without damaging any of the finer details.
The shoulder hydraulics were next. These are also made up of two parts and, like the leg struts, have plenty of small intricate edges. Once again, the brim had done its job of keeping the parts firmly attached to the build plate.
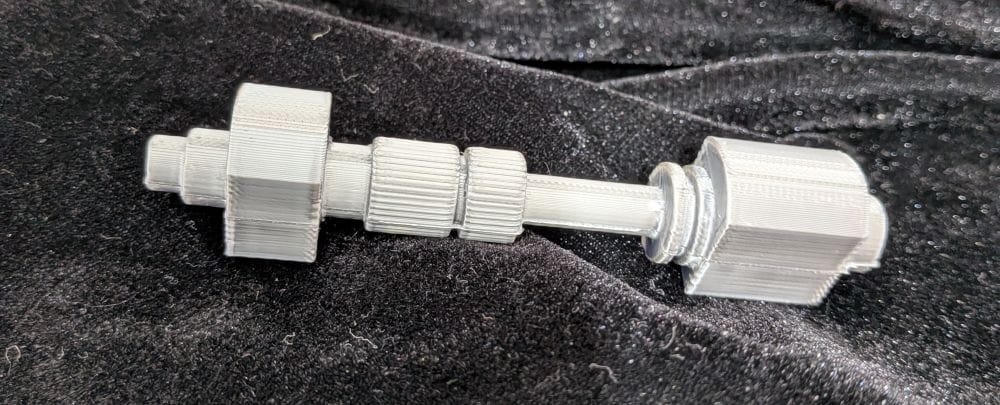
It took a little time removing the brim from all those little edges and it took a fair amount of patience and careful cleaning.
Another part I needed to print in silver was the toggle joints, which fit underneath the shoulders, with two required for each leg.
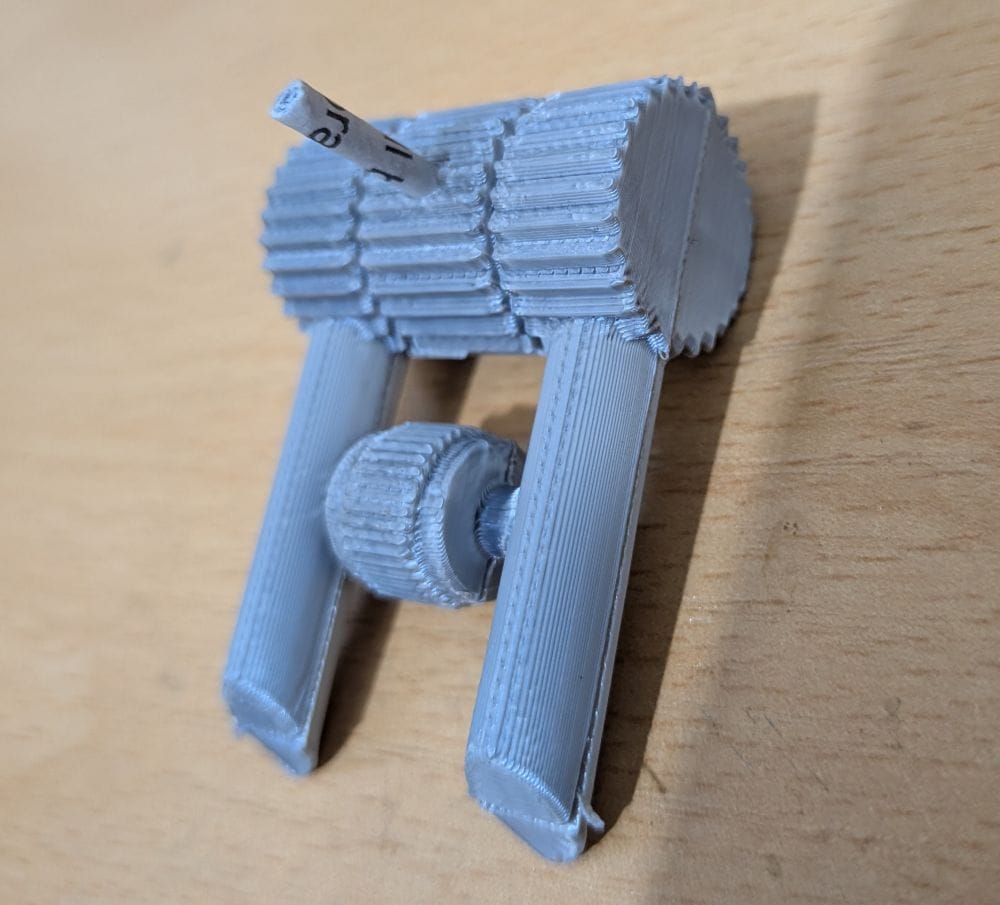
These are also made up of two parts, joined together using filament pins. Once again, there were plenty of intricate little edges to deal with, so cleaning up the brim took a little time and patience, and then glued using tightly rolled-up paper as locating pins.
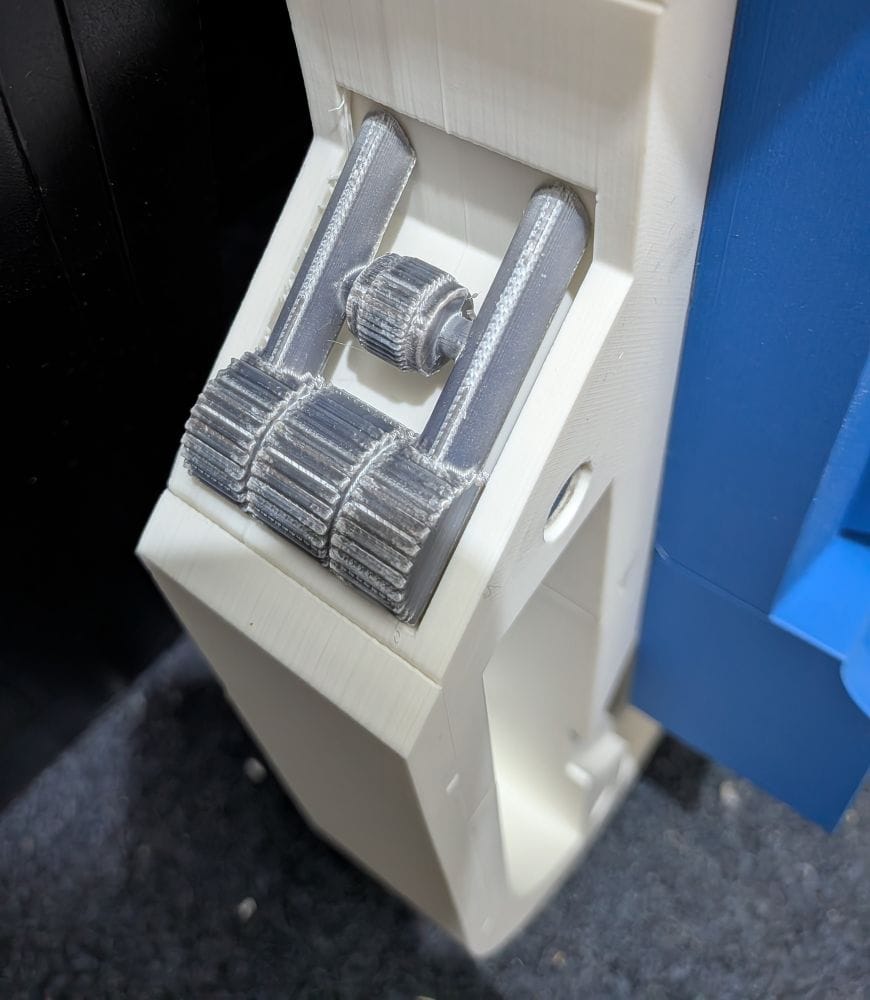
This were starting to come together nicely.
The next parts I printed were the shoulder hubs, along with it's accompanying ring I printed in white to match the leg and horseshoe.
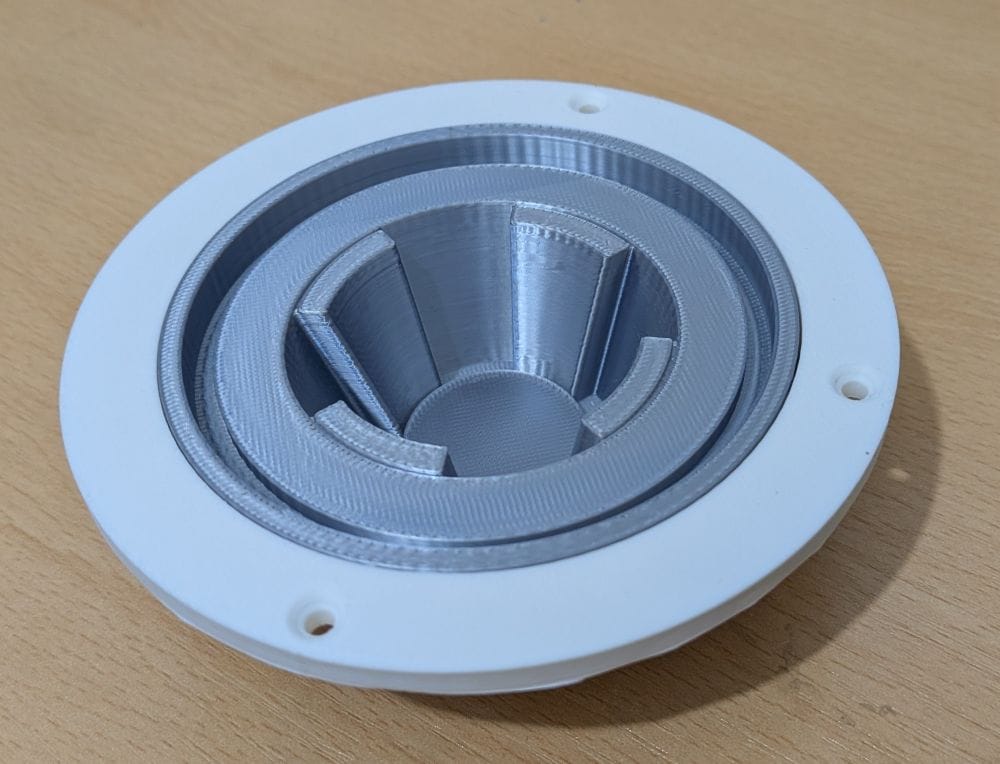
These were much easier to print, with both parts coming off the build plate cleanly and requiring very little clean-up before they were ready for the next stage.
The last parts I printed in silver for the legs were the ankle bracelets. These were very straightforward prints, being completely flat and requiring very little clean-up once they were off the build plate.
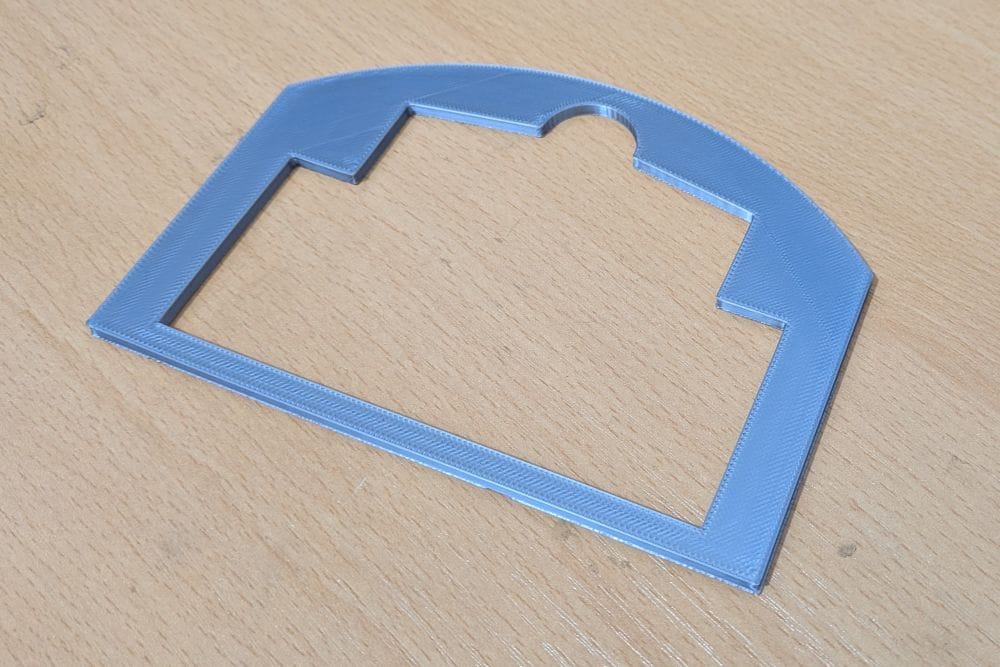
I did still use a brim around them, though. Even though the parts were flat, I wanted to make sure they stayed firmly attached to the build plate throughout the print and remained as flat as possible.
Once printed, they needed only a minimal amount of cleaning up and were soon ready to be added to the legs.
When it came to attaching the leg struts to the main leg, there are two locating holes to help position everything correctly. I wanted to make absolutely sure the struts were perfectly square to the leg while the glue cured.
To do this, I used a block that I had previously printed but discarded from an earlier part of the build. As far as I knew, the block was square, so I used it as a makeshift jig. I clamped it against the leg strut and the main leg, holding everything in the correct position while the glue set.
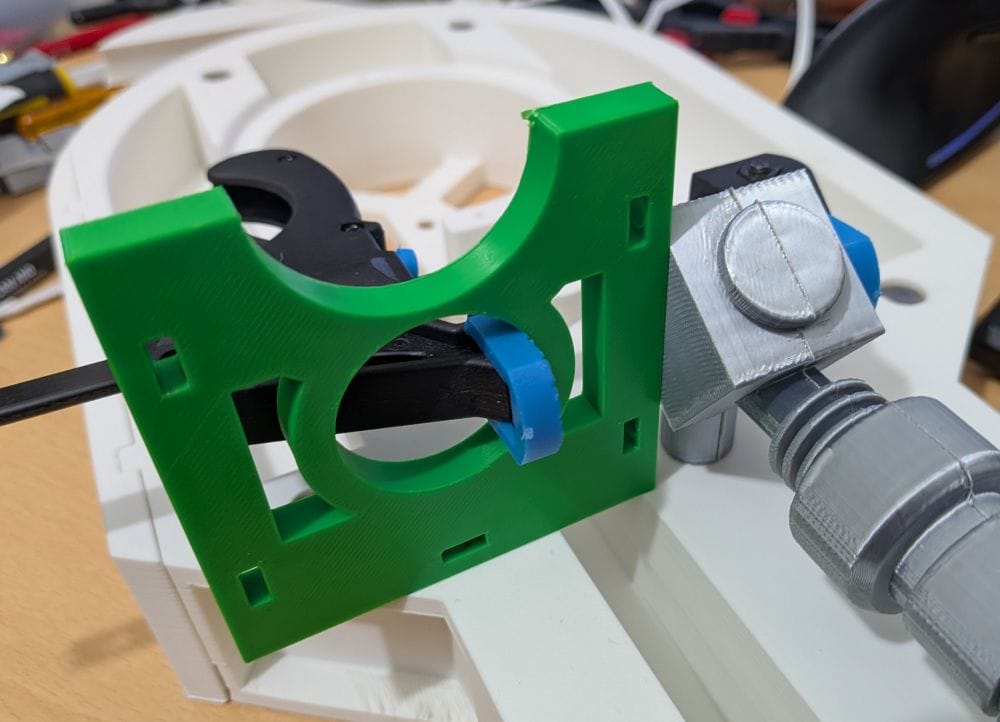
It was a simple solution, but it worked really well and meant I could leave the glue to cure knowing that the strut was being held perfectly square.
When it came to gluing the remaining parts to the leg, I needed some larger locating pins. Rather than trying to find something suitable, I used the same method I'd used previously and made my own locating pins from tightly rolled-up paper.
It worked out perfectly, and in hindsight, it's something I probably should have been doing from the start. The paper pins were simple to make, fitted the holes well, and gave me enough alignment to make sure the parts were positioned correctly while the glue cured.
With all the parts now glued together and fully dried, I could finally assemble the leg and get an idea of what it was going to look like.
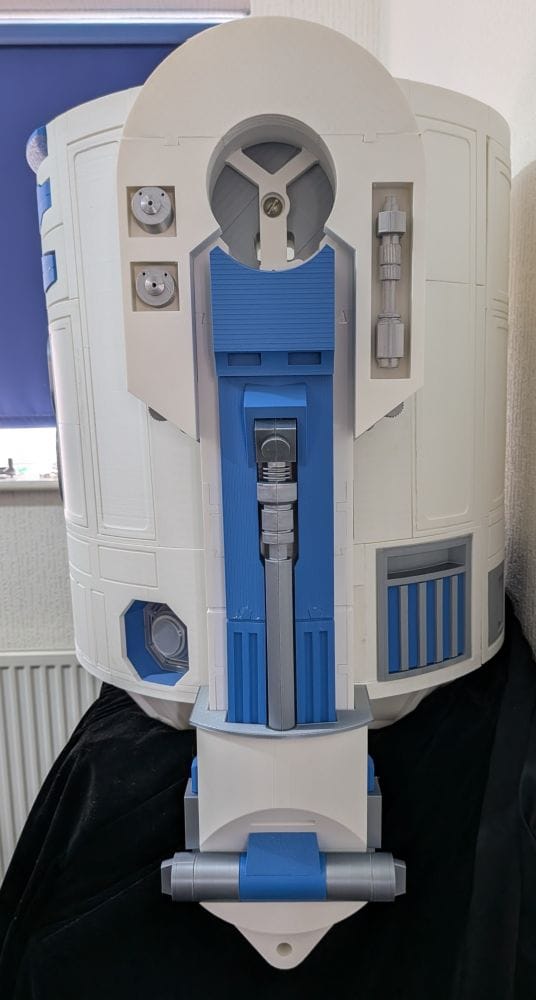
This was also where the Y connector that was no longer needed came in handy. Rather than just holding the leg against the body and trying to judge how everything looked, I used the redundant Y connector to temporarily bolt the leg onto the R2-D2 body.
This gave me a much better idea of how the completed leg would sit against the body and, more importantly, how the proportions and overall look were coming together. After working on all the individual parts, it was really satisfying to finally see the leg mounted on the body for the first time.